Pedicure Tools: The Complete Guide to Every Tool You Need
The quality of a pedicure depends almost entirely on the pedicure tools being used and how well those tools are used. The best polish in the world, applied with the wrong pedicure tools or in the wrong sequence, produces a result that chips in three days and looks uneven on the nail. The right pedicure tools, understood and used correctly, produce results that genuinely compare to a professional salon finish. This guide covers every pedicure tool in the standard kit, what each one actually does, which pedicure tools are worth investing in, and which can be skipped. At the end, five exclusive insights reveal the pedicure tool knowledge that most guides completely miss.
Whether building a pedicure tools kit from scratch or upgrading an existing collection, this breakdown makes every purchase decision clear and gives the specific techniques that make each pedicure tool perform at its best.
01 Why the Right Pedicure Tools Make Such a Difference
Most pedicure tools failures are not polish failures or technique failures. They are pedicure tools selection failures. Using a cheap foam toe separator instead of a silicone one changes the precision of every polish application. Using a metal nail file on a longer toenail instead of a glass file changes how the nail edge holds up over the following weeks. Using a standard cuticle pusher without the correct approach angle changes how cleanly the cuticle work presents against the nail plate. The pedicure tools being used define the ceiling of the results achievable.
The other aspect of pedicure tools that matters enormously is sequencing. Pedicure tools are not a collection of independent items. They work in a specific order where each tool prepares the surface for the next. Using pedicure tools in the wrong sequence, even if all the right tools are present, produces noticeably inferior results. The exclusive insights section below covers the optimal pedicure tools sequence in detail.
The principle: Investing in the right pedicure tools is not an expense — it is the difference between results that last 3 days and results that last 3 weeks. The total cost of a complete, quality pedicure tools kit is typically less than two salon visits, and it pays for itself in the first month of home use.
For context on how pedicure tools fit into the complete pedicure process, the complete home pedicure guide and the pedicure aesthetic guide cover the full sequence from soak to finish.
02 Essential Pedicure Tools: A Complete Breakdown
These are the pedicure tools that appear in every professional pedicure kit. Each one has a specific job, and none of them can be effectively substituted with a workaround. This is the non-negotiable list for anyone serious about at-home pedicure results.
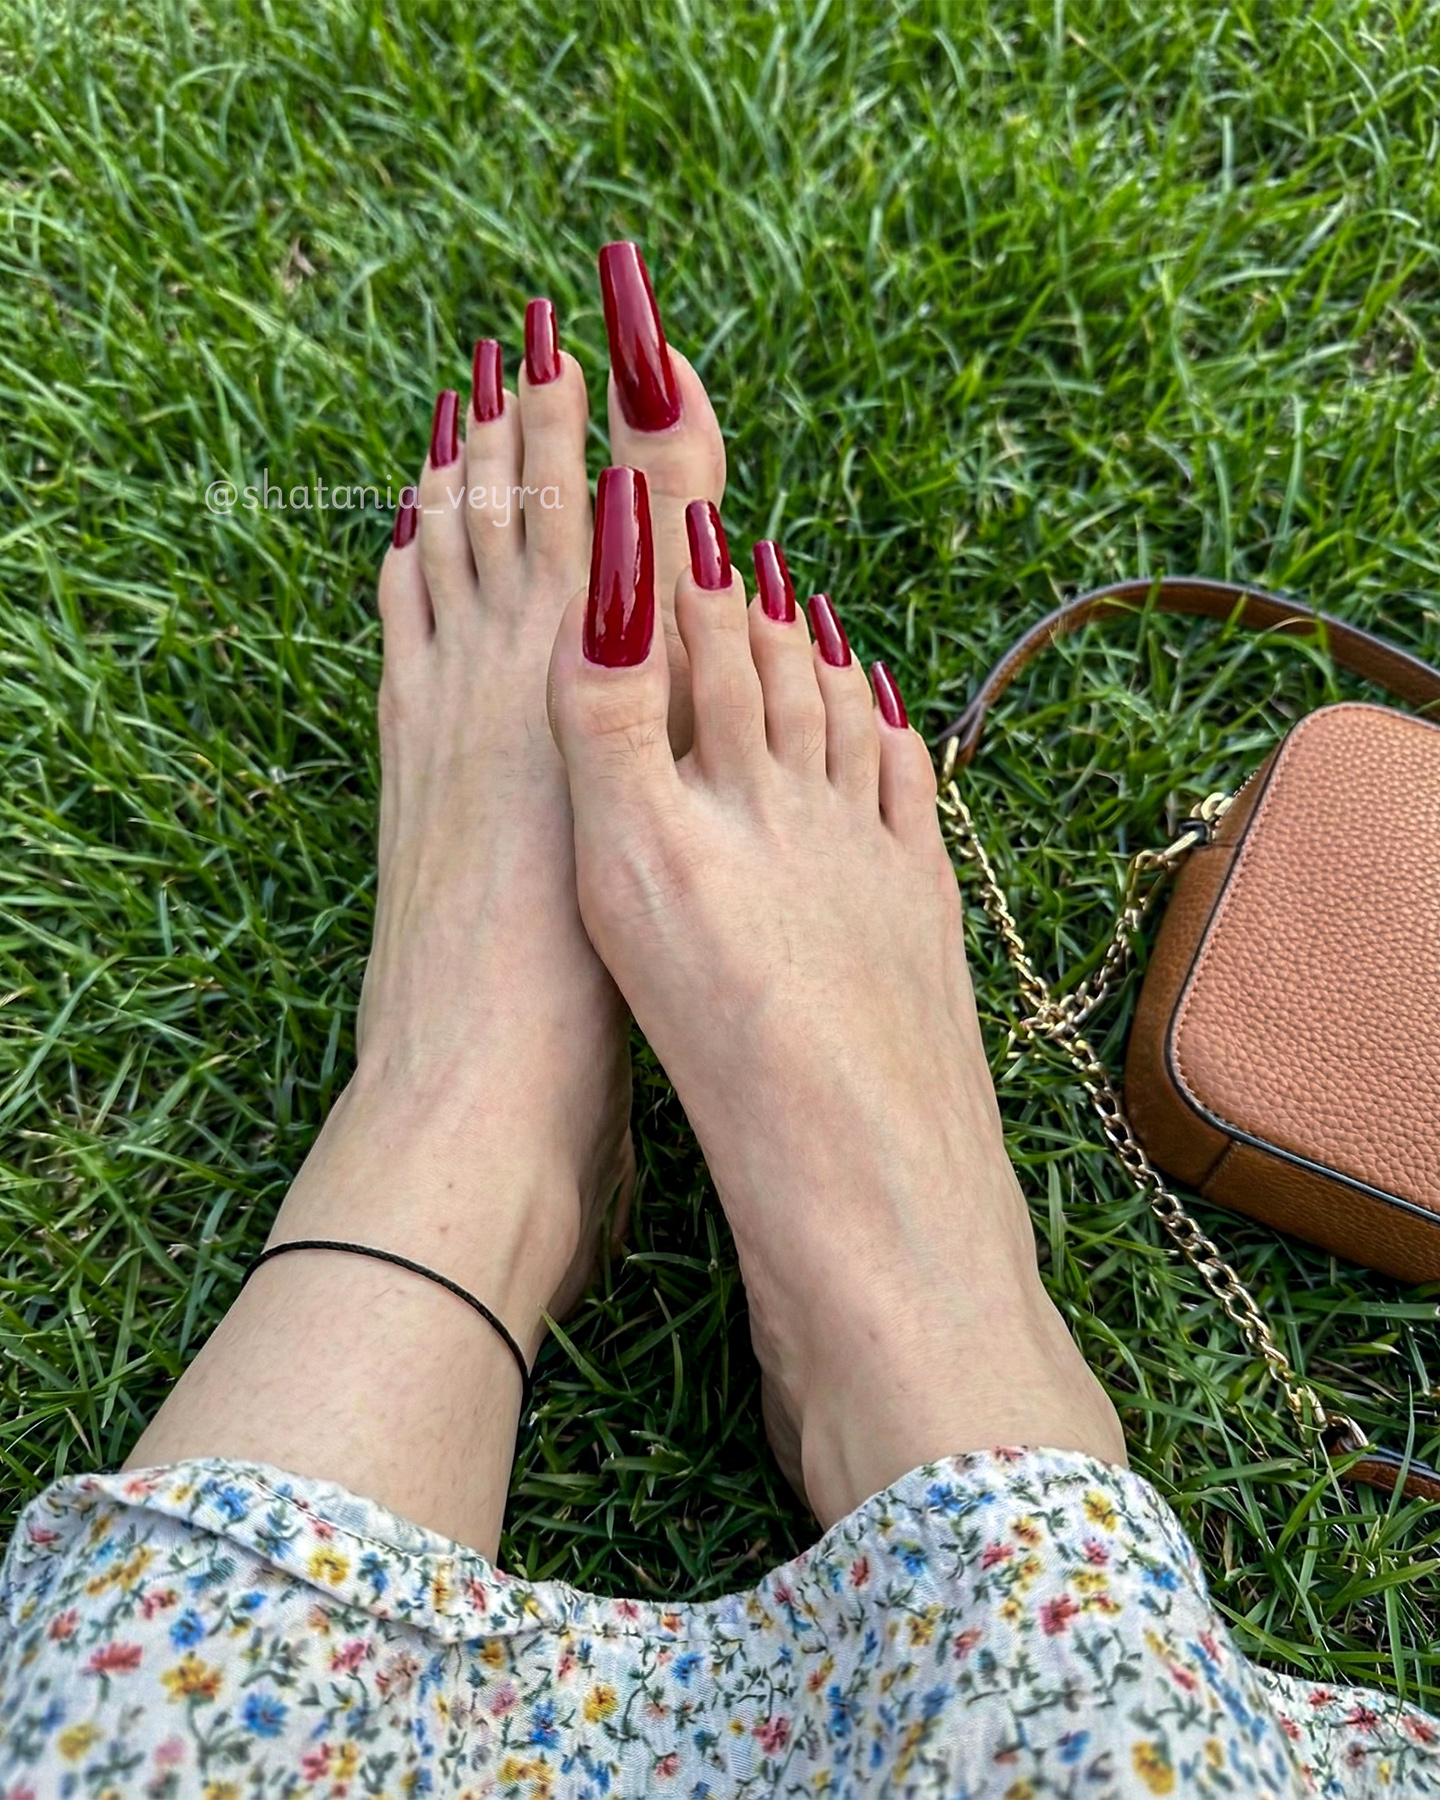
Nail File
Essential Pedicure ToolThe nail file is the primary shaping pedicure tool and the one with the most meaningful variation between product types. Emery boards work but create micro-tears at the nail edge. Glass files seal the nail edge as they shape it and are significantly better for longer toenails. Metal files are the most aggressive and are best avoided on the free edge. For toenail shaping specifically, a 180-grit glass file used in one direction only — corner to centre — produces the cleanest, most structurally stable nail edge of any pedicure tool option available.
Cuticle Pusher
Essential Pedicure ToolThe cuticle pusher is the pedicure tool that most directly determines how professional the finished nail looks. Clean, neatly pushed cuticles create the visual impression of longer nails and more precise polish application. The best cuticle pusher pedicure tool materials are rubber-tipped or wooden for gentleness and wood for single-use disposability. Metal-tipped cuticle pushers are common in professional kits but require careful pressure control to avoid damaging the nail fold. The cuticle pusher is always used post-soak when the cuticle tissue is fully softened.
Cuticle Nipper
Essential Pedicure ToolThe cuticle nipper is the most precision-demanding pedicure tool in the kit and the one most commonly used incorrectly. It removes only the loose, dead cuticle skin freed by the pusher — not living cuticle tissue. A quality cuticle nipper pedicure tool has sharp, clean-closing jaws that cut in a single motion rather than tearing or chewing. Sharp pedicure tools matter most for the nipper: a dull nipper tears rather than cuts, creates jagged edges that look worse than untreated cuticles, and increases the risk of accidental skin damage significantly.
Foot Basin
Essential Pedicure ToolThe foot basin is the foundational pedicure tool that makes every subsequent step more effective. A basin wide enough for both feet simultaneously and deep enough for ankle coverage creates the most effective soak environment. The specific soak formula — what to add to the water — changes the effectiveness dramatically. The complete foot soak guide covers the optimal formulas for different skin conditions and goals.
Pumice Stone or Foot File
Essential Pedicure ToolThis pedicure tool addresses the skin of the heel and sole rather than the nails. A pumice stone provides gentle circular exfoliation best suited for maintenance of already-smooth heels. A foot file with a structured abrasive surface is more effective for removing moderately thickened skin. Both are pedicure tools that should only be used on softened post-soak skin, never on dry heels where aggressive abrasion creates micro-damage rather than smooth skin.
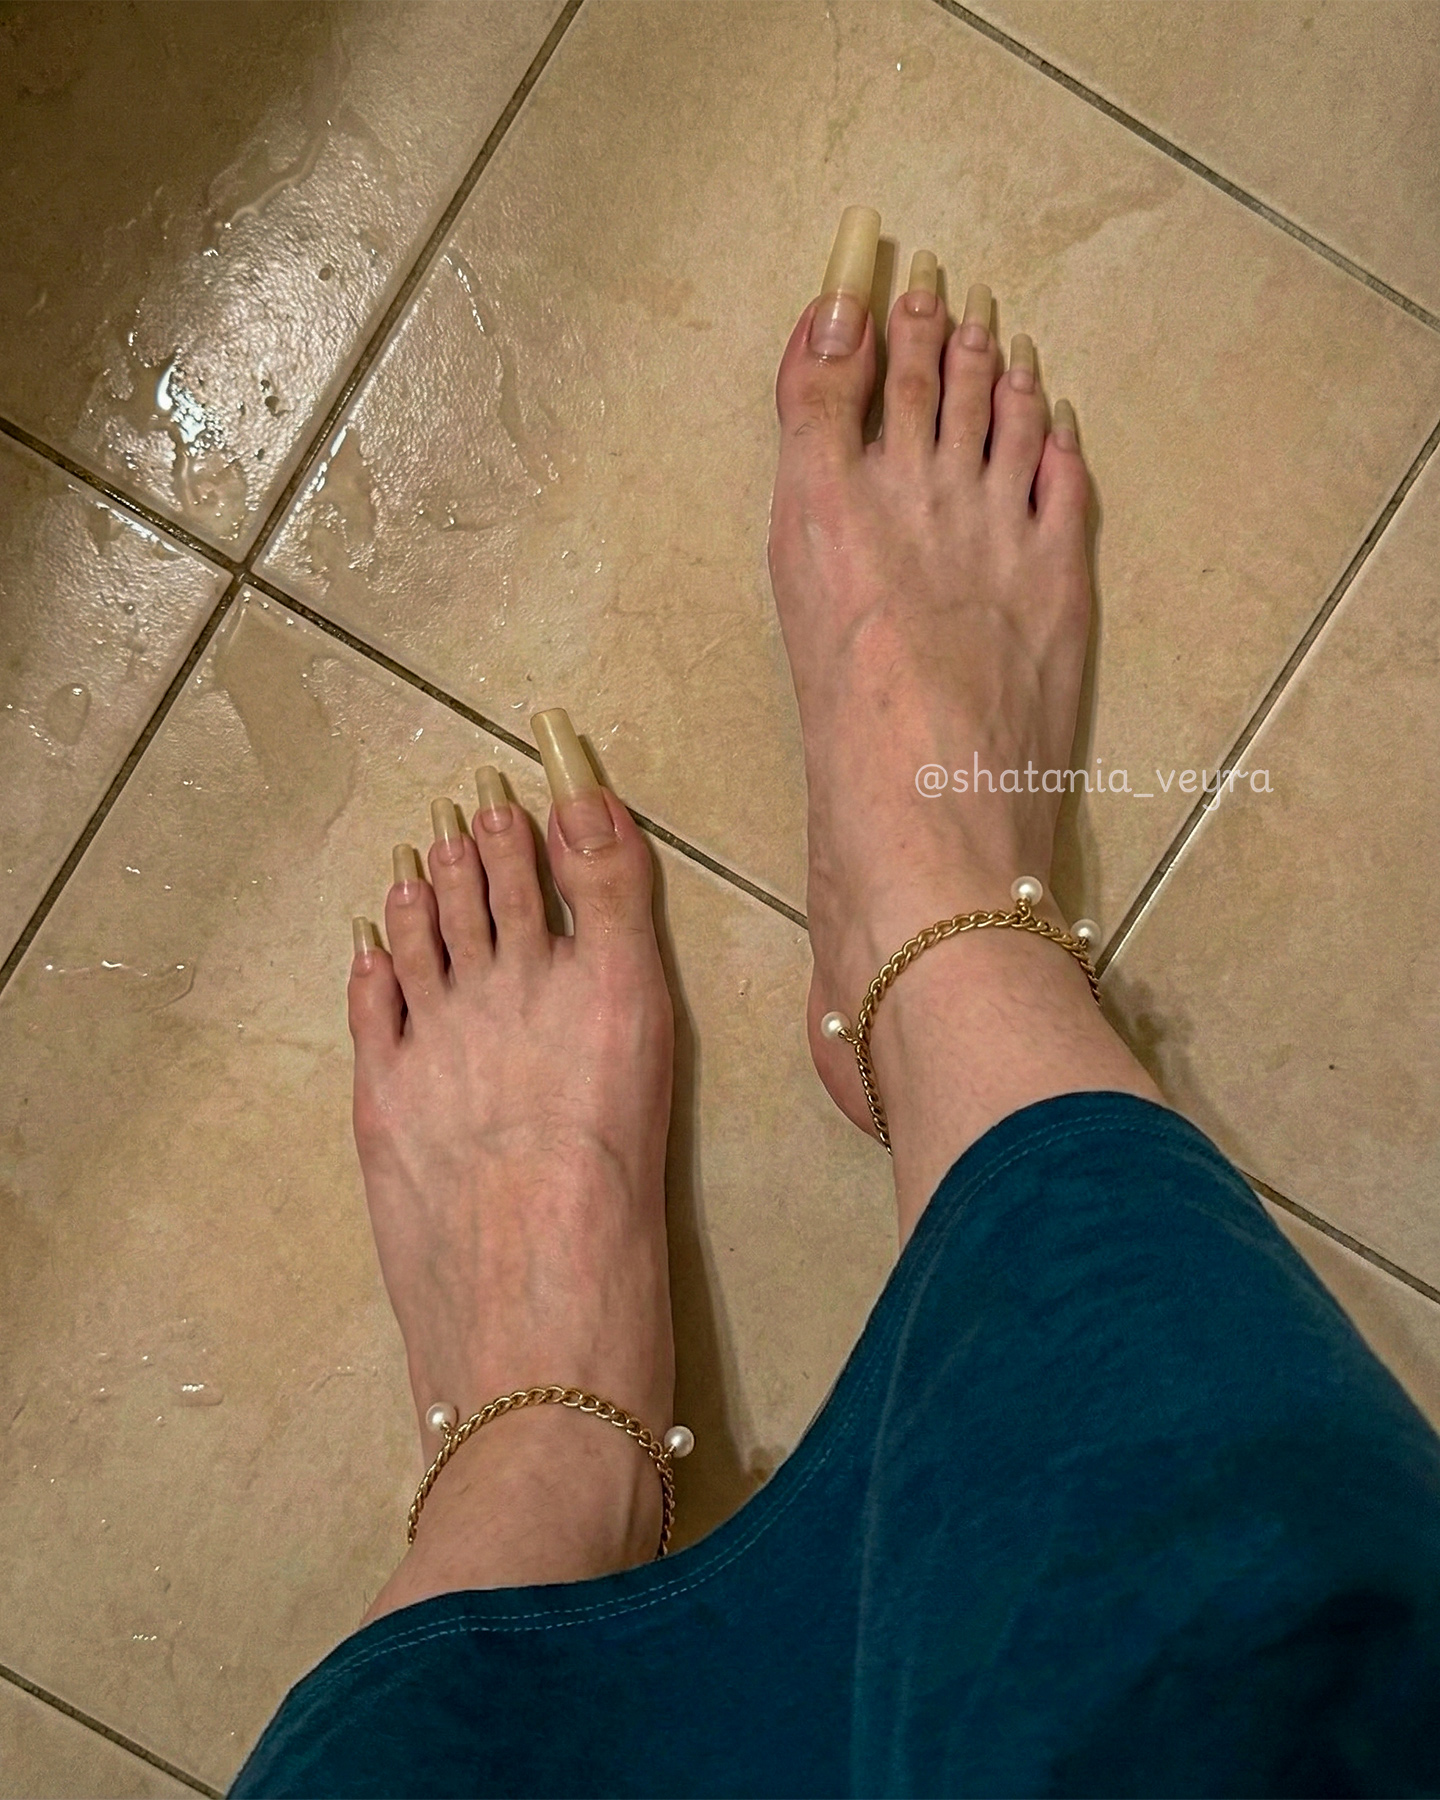
Toe Separators
Essential Pedicure ToolToe separators are the pedicure tool most underestimated in their impact on polish quality. Their job is to hold toes apart consistently throughout the application process, preventing accidental skin contact and smudging. Silicone toe separators maintain their shape through the entire pedicure session while foam ones compress and shift. For any pedicure work involving nail art, French tips, or precise colour application, silicone toe separators are the correct pedicure tool choice. The positional stability difference is significant.
4-Way Buffer
Essential Pedicure ToolThe 4-way buffer is the pedicure tool that prepares the nail surface for polish adhesion. Each side of this pedicure tool has a different grit level: rough for removing ridges, medium for smoothing, fine for refining, and polishing for creating a smooth, even base. Using the buffer correctly before any base coat application produces a nail surface that holds both regular polish and gel significantly more effectively than an unprepared nail. This pedicure tool is one of the most impactful for longevity.
03 Pedicure Tools Worth Upgrading
Beyond the essential pedicure tools, several upgrade pedicure tools dramatically expand what is possible at home and improve the quality of every finish. These are not essential to a functional pedicure but are significant upgrades for anyone who takes the pedicure aesthetic seriously.
LED Lamp (36W+)
Upgrade Pedicure ToolThe LED lamp is the pedicure tool that unlocks gel polish — and gel polish is the single biggest upgrade in pedicure longevity available. A 36W minimum lamp cures toenail gel at 60 seconds per coat (double the fingernail standard) ensuring complete curing through the thicker toenail plate. This pedicure tool extends pedicure life from 5 to 10 days with regular polish to 3 to 5 weeks with gel. Full gel application technique is in the gel pedicure guide.
Fine Nail Art Liner Brush (Size 00)
Upgrade Pedicure ToolFor anyone doing French tips, nail art, or detail work, the fine liner brush is the pedicure tool that makes precision possible. This pedicure tool loads a small amount of gel or polish and allows controlled placement of the smile line, dot details, botanical accents, or any freehand design. Without a proper liner brush pedicure tool, French tips and nail art are significantly harder to execute cleanly on toenails. The nail art for toes guide covers all the techniques this pedicure tool enables.
Dotting Tool
Upgrade Pedicure ToolA simple but transformative pedicure tool for anyone interested in dot-based nail art designs. The rounded metal tip of a dotting pedicure tool creates perfectly circular dots of any size by varying the diameter of the tip used and the amount of pressure applied. Given that polka dot searches for toenail art are up over 2,000 percent in 2026, this pedicure tool has never been more relevant to the current aesthetic conversation.
Nail Dehydrator
Upgrade Pedicure ToolThe nail dehydrator is the pedicure tool with the most disproportionate impact on longevity relative to its cost and complexity of use. Applied to the nail surface before base coat, the dehydrator removes the oils and moisture that cause polish lifting and early chipping. This pedicure tool is why salon pedicures last longer than home attempts using identical polish — professionals consistently use nail dehydrator as a standard pedicure tool while most home kits do not include it. The double dehydrate technique, covered in the exclusive section below, takes this pedicure tool’s effectiveness even further.
04 How to Clean and Store Pedicure Tools
Pedicure tools that are not properly cleaned between uses harbour bacteria and skin debris that reduce their effectiveness and create hygiene risks. Maintaining pedicure tools correctly also extends their functional life significantly, making the initial investment in quality pedicure tools even more cost-effective over time.
Rinse Metal Pedicure Tools After Every Use
Metal pedicure tools including cuticle nippers, cuticle pushers, and metal foot files should be rinsed under warm running water immediately after use to remove skin debris before it dries and hardens. Dried debris on pedicure tools is significantly harder to remove and can harbour bacteria in the microscopic gaps of the cutting surfaces.
Wash with Soap and Dry Completely
Wash all metal pedicure tools with warm water and mild soap after rinsing. Dry each pedicure tool thoroughly with a clean cloth, paying attention to hinge areas and crevices where moisture collects. Metal pedicure tools left damp develop rust at the hinge and on cutting surfaces, which permanently damages the precision of those tools.
Wipe with 70% Isopropyl Alcohol
After washing and drying, wipe all metal pedicure tools with a pad saturated in 70% isopropyl alcohol and allow to air dry completely. The 70% concentration is more effective than pure alcohol for sanitising because the water content helps it penetrate the cell walls of any bacteria present on the pedicure tool surfaces.
Store in a Dry, Covered Container
Storing pedicure tools in a covered pouch or case prevents both moisture accumulation (which causes rust on metal pedicure tools) and cross-contamination between uses. Glass nail files should be stored individually in a protective sleeve to prevent the glass from chipping — a chipped glass nail file loses the sealing property that makes it the superior filing pedicure tool for longer nails.
Replace Porous Pedicure Tools Regularly
Emery boards and foam toe separators are porous pedicure tools that cannot be sanitised effectively and should be replaced after every 3 to 5 uses. Pumice stone pedicure tools should be replaced every 2 to 3 months. Glass files and silicone toe separators, the superior versions of these pedicure tools, are washable and last significantly longer than their disposable alternatives.
5 Exclusive Pedicure Tool Insights
These five insights cover the pedicure tools knowledge that no standard guide addresses. Each one either changes how a specific pedicure tool is used, reveals why a particular tool performs differently than expected, or explains a sequencing principle that improves every pedicure tools session.
The Correct Pedicure Tools Sequence
Most people think of pedicure tools as independent items used whenever they seem needed. The exclusive insight is that pedicure tools work in a synergistic sequence where using them out of order significantly reduces effectiveness. The correct pedicure tools sequence for maximum results: nail file first (on dry nails before soaking — dry nails are more stable for precise shaping), foot basin soak, cuticle pusher post-soak while skin is soft, cuticle nipper for only what the pusher freed, 4-way buffer on the nail surface (removing shine after pushing prevents contaminating the pusher), pumice or foot file on softened heel skin, then nail dehydrator before any polish tool is used. Using the buffer before the pusher leaves oil residue on the nail surface from the buffing motion. Using the foot file before soaking means working on un-softened skin. Using the nail dehydrator too early means oil from subsequent cuticle work deposits on the dehydrated surface. The pedicure tools sequence is a system, not a checklist.
The Glass File Sealing Property
Glass nail files are the superior filing pedicure tool for longer toenails for a specific reason that most guides do not explain. Standard emery board and metal nail files work by abrasion that occurs at the microscopic level in multiple directions simultaneously, even when the user applies the tool in one direction only. This multi-directional micro-abrasion creates small tears in the keratin layers at the nail edge — tears that propagate over days into the visible splitting and corner breaking that resets growth phases. Glass nail files work differently: the extremely fine, uniform abrasive surface of a glass file seals the nail edge as it shapes it, fusing the keratin layers at the edge rather than tearing them. On longer toenails where the free edge has more surface area exposed to stress between pedicure tools sessions, a glass-filed edge shows dramatically less splitting over a two-month period than an emery-board-filed edge. Switching to a glass filing pedicure tool is the single most impactful change for anyone trying to grow and maintain longer toenail length.
The Silicone vs Foam Separator Precision Difference
The choice between silicone and foam toe separator pedicure tools has a more significant impact on polish precision than most people realise, and the mechanism is positional stability. Foam toe separators compress under the weight of adjacent toes and during any pressure applied while working, causing each toe’s position to shift slightly from the start to the end of the pedicure tools session. On the fourth and fifth toes especially, this positional shift changes the angle of the nail surface by several degrees between the first polish stroke and the last — producing slightly uneven coverage at the nail edge that reads as less precise in the finished result. Silicone toe separator pedicure tools maintain their shape through the entire session because of their spring-back properties, keeping every toe in exactly the same position from the first base coat stroke to the final top coat. For anyone doing French tips, where the smile line must be placed consistently at the same position on both sides of the nail, or nail art where angular precision matters, silicone separators are the correct pedicure tool. For block colour, the positional stability still prevents skin contact that silicone eliminates and foam does not.
The 45-Degree Cuticle Nipper Approach Angle
The cuticle nipper is the pedicure tool that most people use at a 90-degree angle to the skin — approaching straight on, perpendicular to the nail surface. The technique that produces the cleanest single cuts with the least risk is a 45-degree approach angle: tilting the cuticle nipper pedicure tool so that one jaw is slightly lower than the other and approaching the loose cuticle skin diagonally rather than straight. This angled approach does something the straight-on approach cannot: it lifts the dead cuticle skin slightly away from the live skin beneath before the cutting action is completed, creating natural separation between the dead and living tissue. The cut then goes through only the freed dead skin with the cutting jaw meeting no resistance from live tissue beneath it. The result is a cleaner cut, less tearing or ragged edges, and no accidental catching of the nail fold. Professional pedicure technicians apply this pedicure tool technique as standard but it is almost never described in any equipment guide or tutorial.
The Three-Grit Buffer Sequence
The 4-way buffer is the pedicure tool that most instructions reduce to a single instruction: “buff the nail.” The grit sequence used with this pedicure tool determines the quality of the prepared nail surface. The correct three-step sequence: first, the 180-grit side of the buffer in light passes to remove the nail’s natural shine and create micro-texture for adhesion. Second, the 220-grit side to smooth the micro-scratches left by the 180-grit pass. Third, the polishing side to create a uniformly smooth, matte-to-semi-matte surface for optimal base coat bonding. Each grit level addresses the work of the previous one. Stopping at 180-grit leaves visible scratches that cause polish to apply unevenly at the scratch lines. Stopping at 220-grit without the polishing pass leaves a surface that is good for gel but slightly rough for the smoothest regular polish finish. Using only the polishing side (the most common approach) creates a smooth surface but without the micro-texture that provides adhesion grip for the base coat. The complete three-grit pedicure tool sequence adds less than two minutes to nail preparation and produces a noticeably more even, longer-lasting polish application.
06 Building a Starter vs Pro Pedicure Tools Kit
Not everyone needs every pedicure tool immediately. Building a pedicure tools kit in stages makes the investment manageable while producing quality results from the first session. Here is the honest breakdown of what to buy first and what to add as the home pedicure practice develops.
Starter Pedicure Tools Kit
- Glass nail file (180-grit)
- Rubber-tipped cuticle pusher
- Cuticle nipper (sharp, quality)
- 4-way nail buffer
- Foot basin
- Pumice stone
- Silicone toe separators
- Nail dehydrator
- Base coat + top coat
Pro Pedicure Tools Kit
- Everything in starter kit
- LED lamp (36W+)
- Gel base, colour, and top coat
- Fine liner brush (size 00)
- Dotting tool
- Nail foil and adhesive gel
- Cat eye magnet
- Nail stamping plate and stamper
- 99% isopropyl alcohol
The starter pedicure tools kit covers every step of a complete professional-quality home pedicure. The pro pedicure tools kit adds gel capability and every nail art tool needed for the designs covered in the nail art for toes guide and the complete toenail designs guide.
Exclusive Access
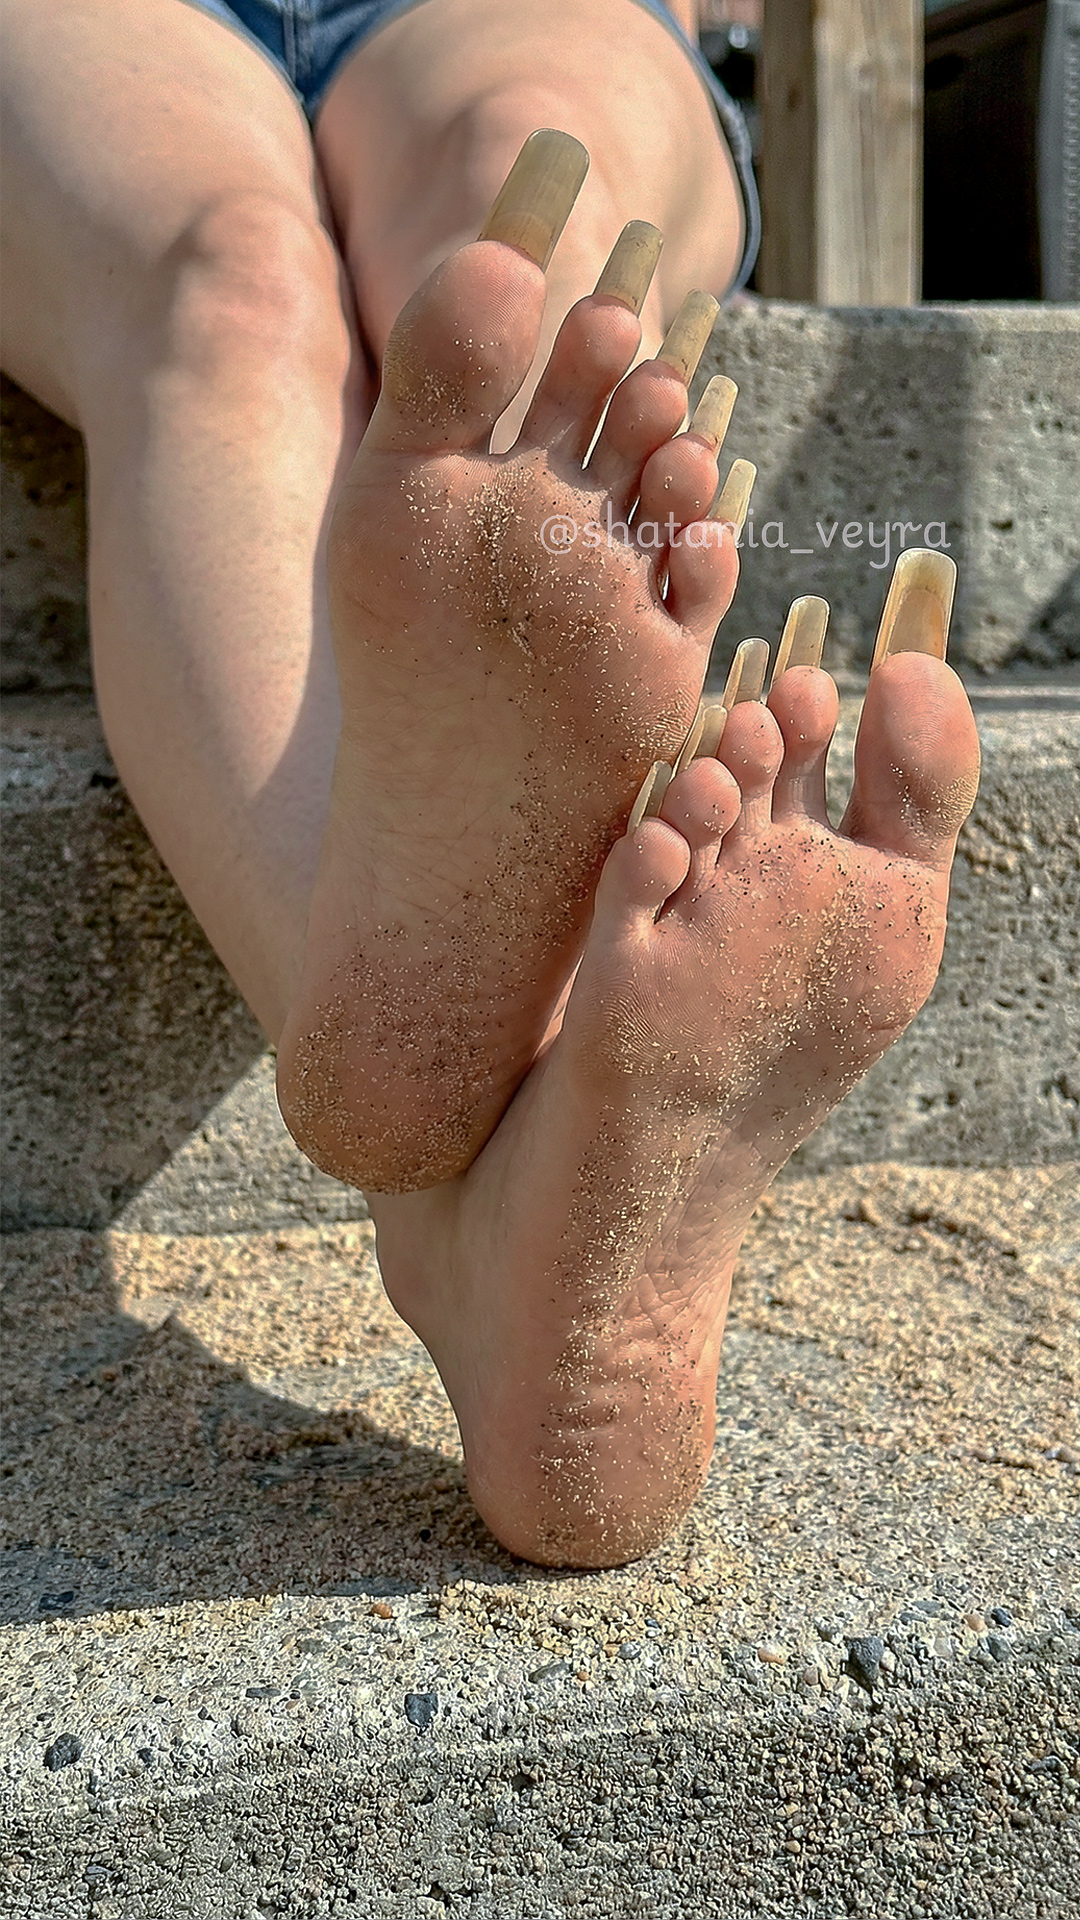
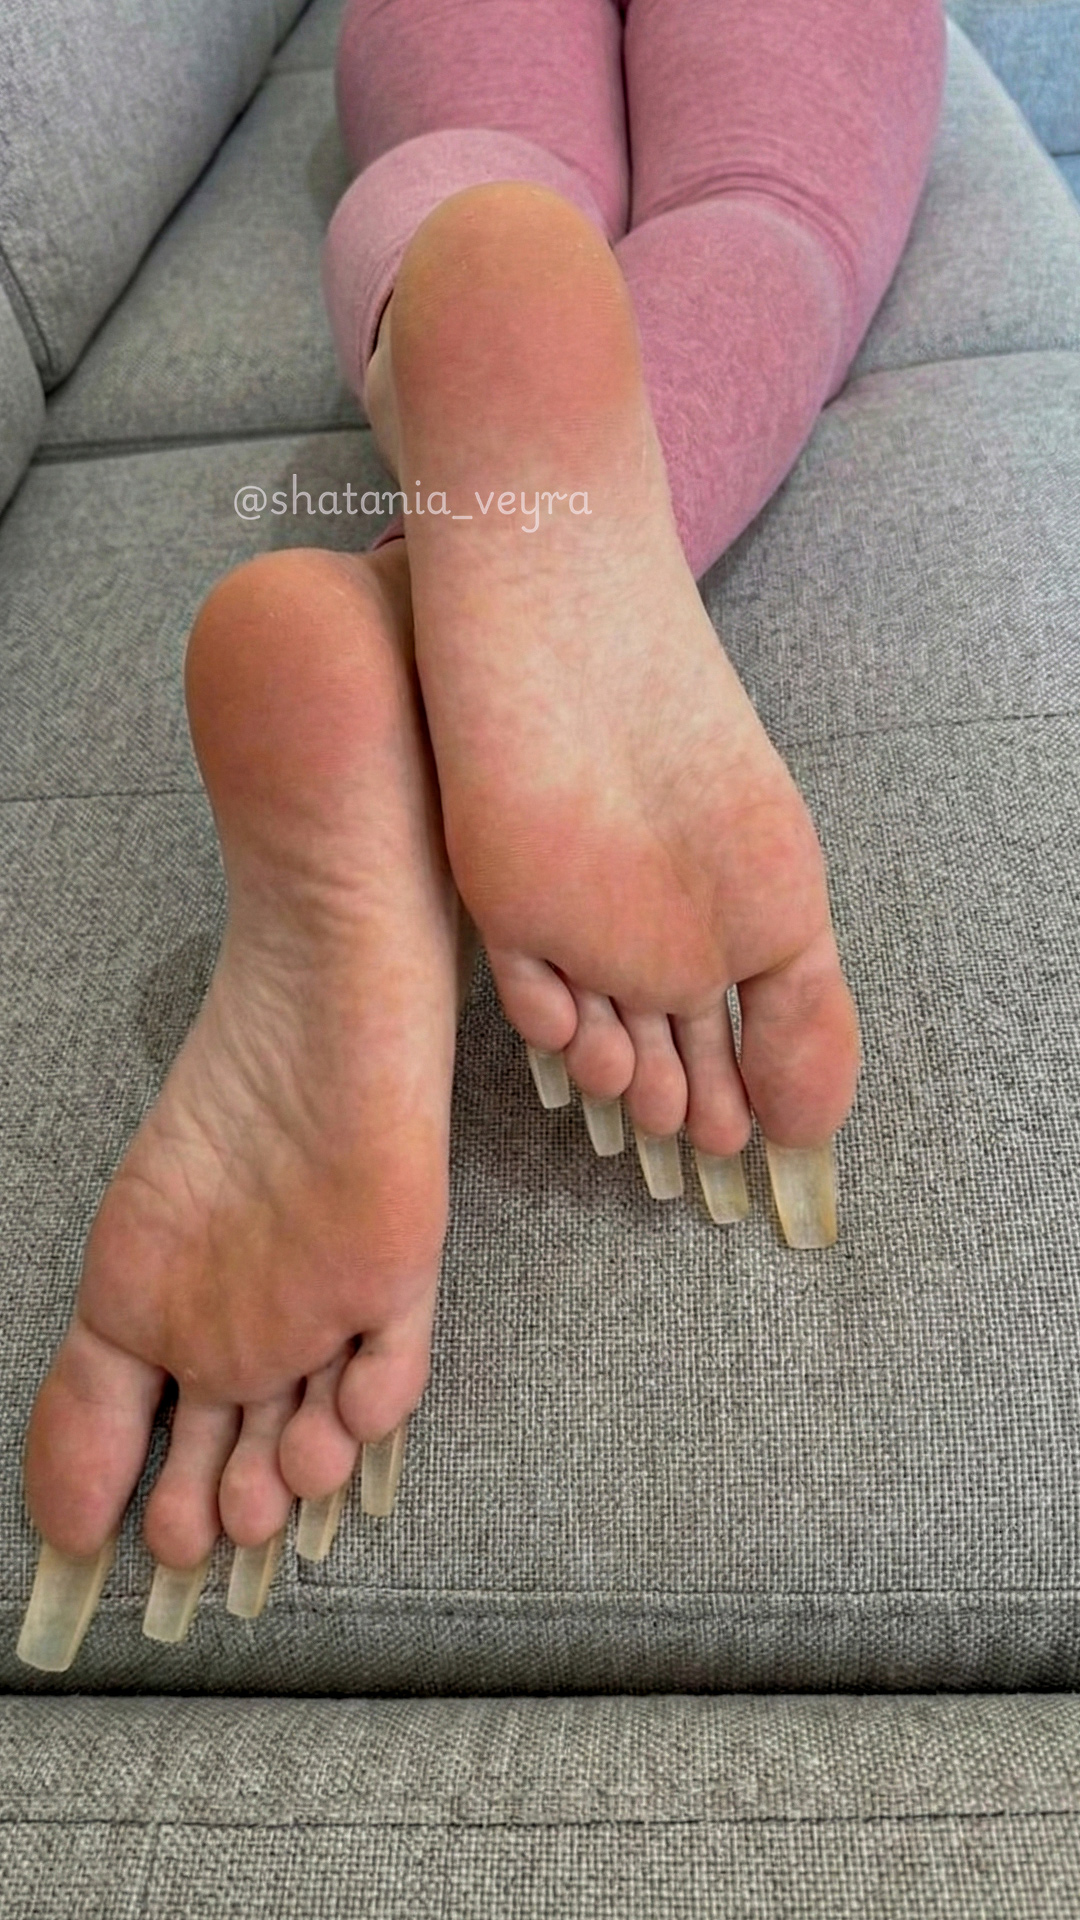
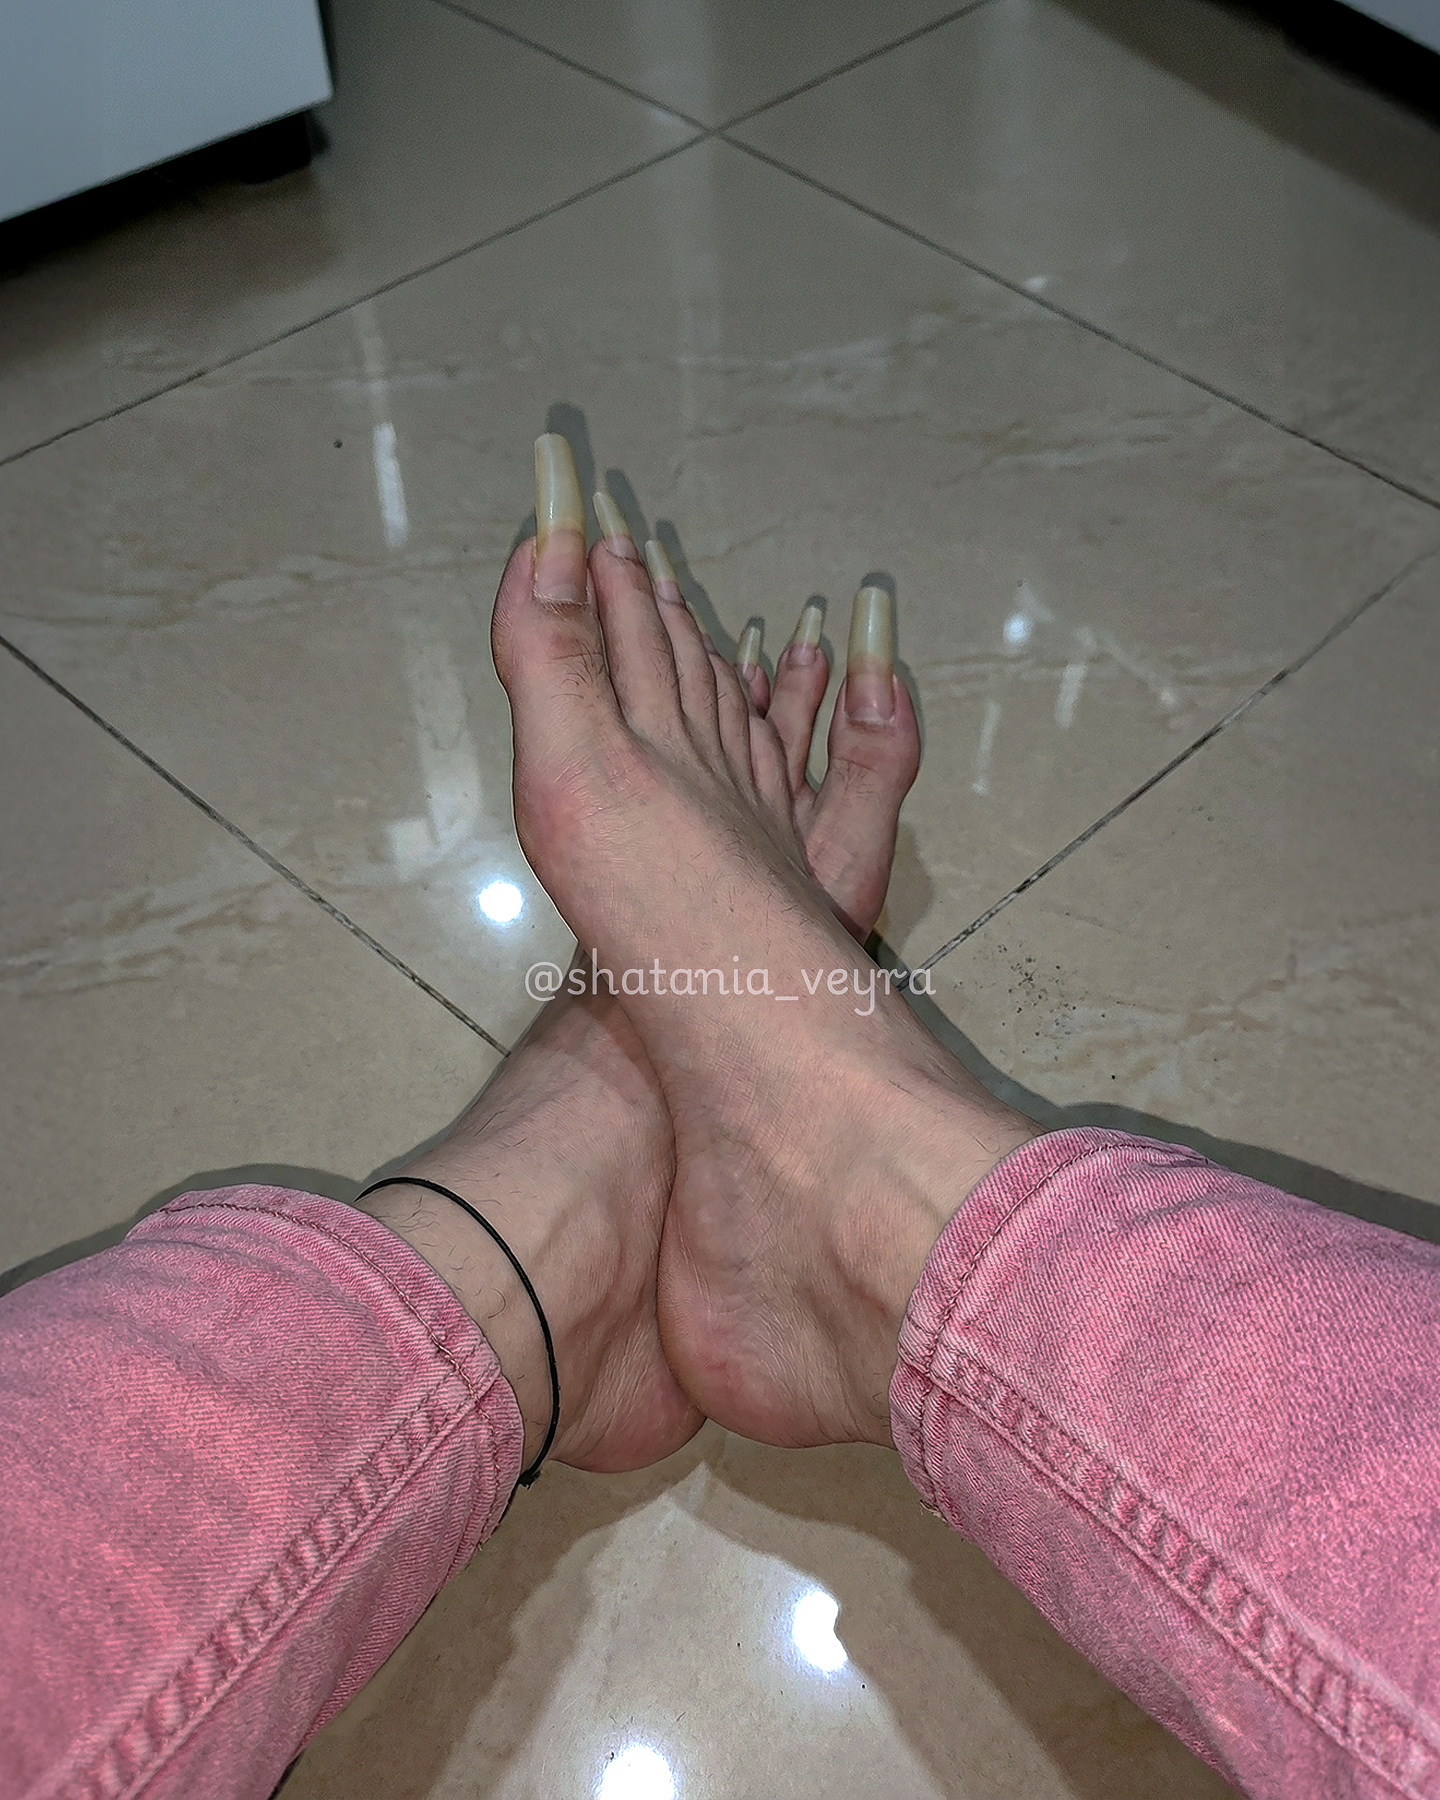
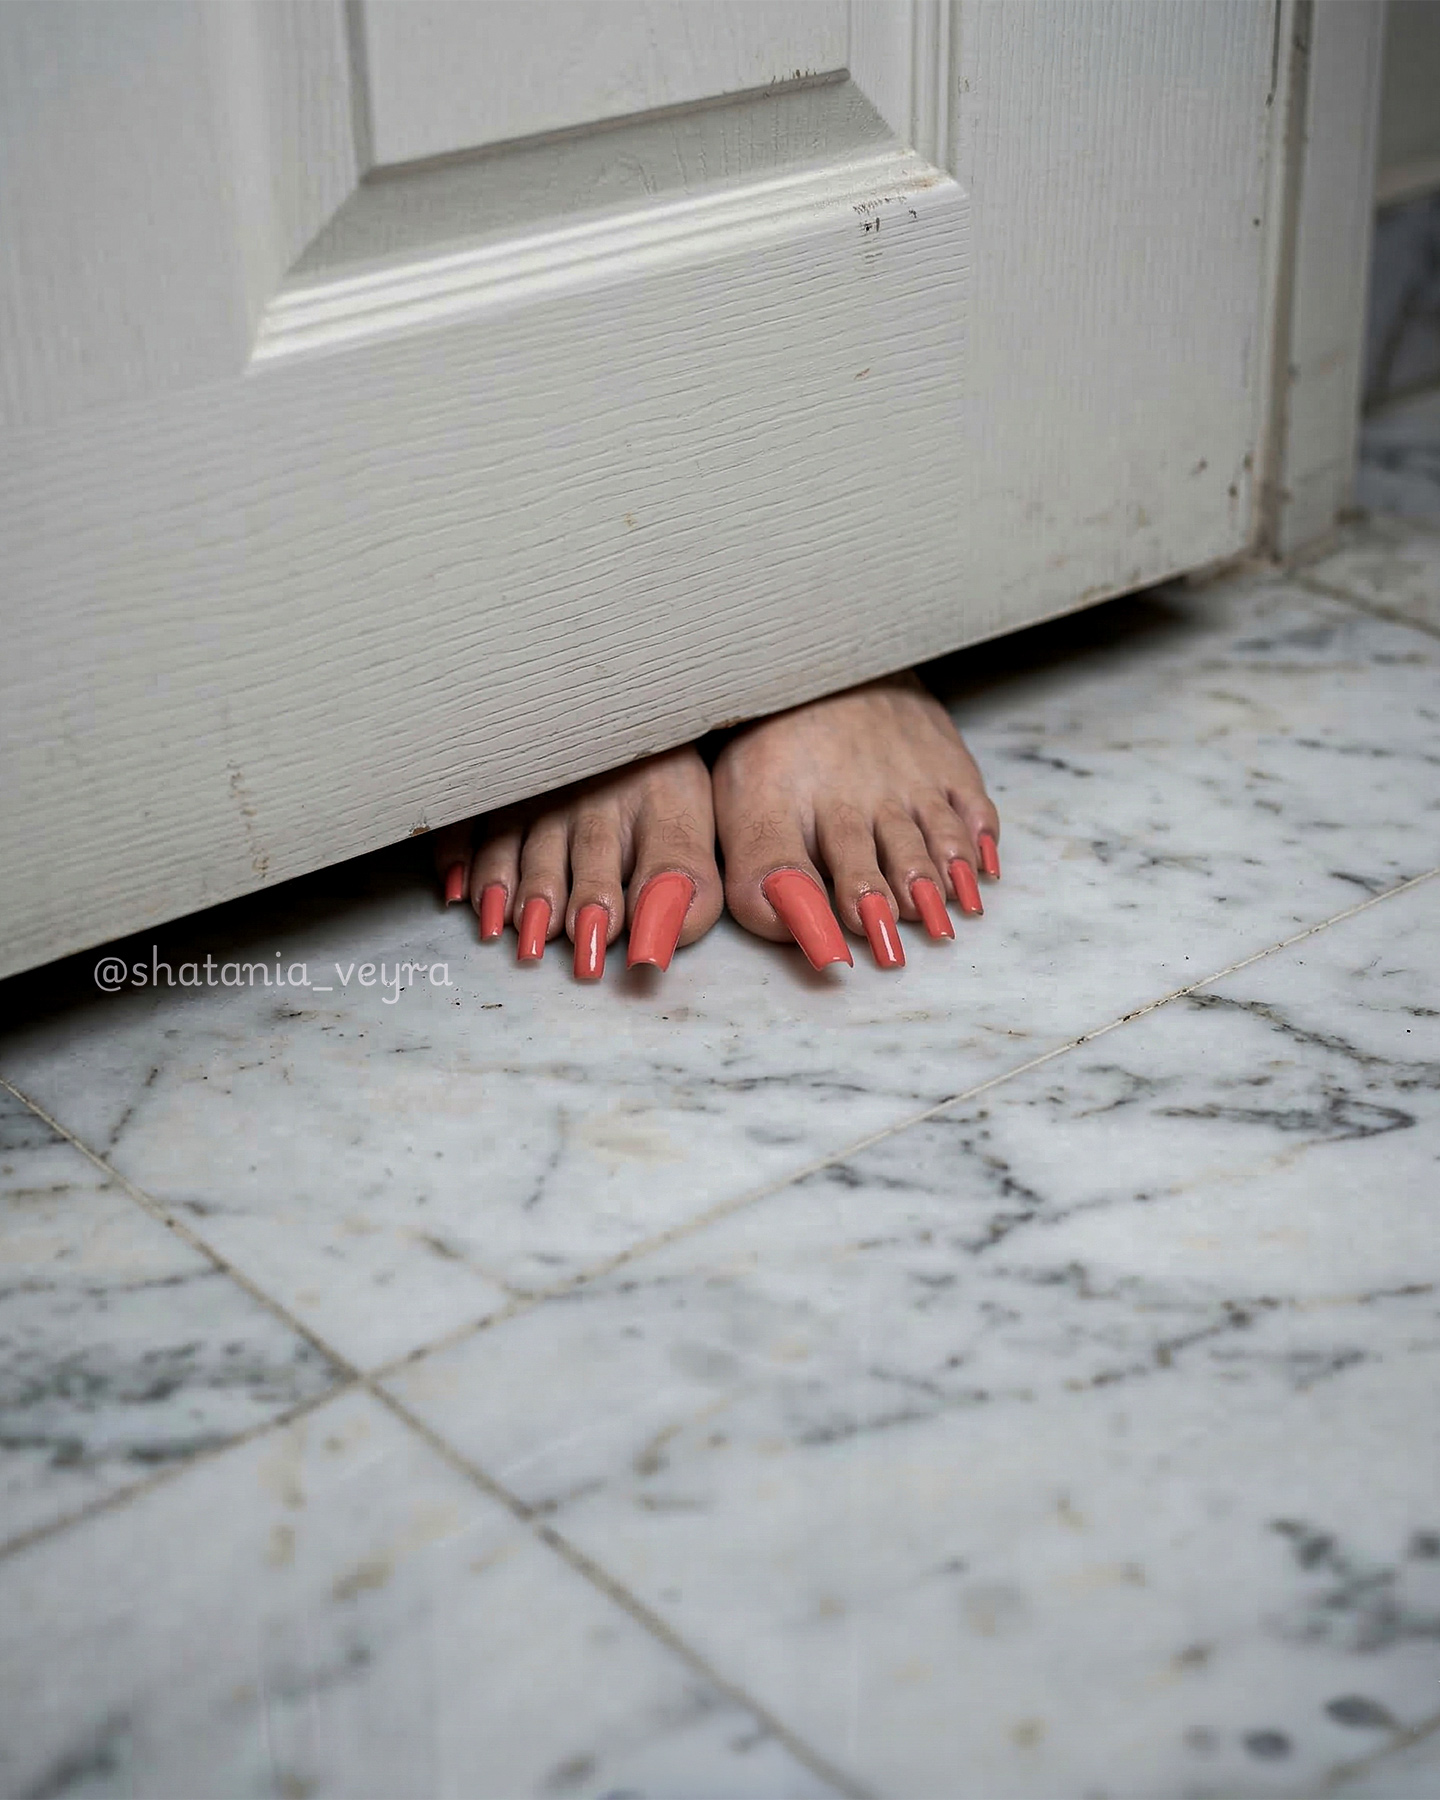
See What These Pedicure Tools Produce
Premium close-up photography showing the results that come from the right pedicure tools used the right way. Every detail captured for Patreon members.
Explore Exclusive Content07 Frequently Asked Questions About Pedicure Tools
The Right Pedicure Tools Change Everything
Pedicure tools are not interchangeable. The specific tool, the specific material, and the specific sequence in which pedicure tools are used determine the quality, precision, and longevity of every home pedicure. A glass file instead of an emery board. Silicone separators instead of foam. A nail dehydrator that most kits overlook. These are not luxury additions to a pedicure tools collection — they are the decisions that produce results that look and last significantly better than the standard approach.
For more technique detail on how to use these pedicure tools across different pedicure styles, the complete home pedicure guide and the gel pedicure guide cover every application step in depth. And for the full visual of what the right pedicure tools produce when used well, follow on Instagram and explore the Patreon membership for exclusive close-up content that goes further than anywhere else.