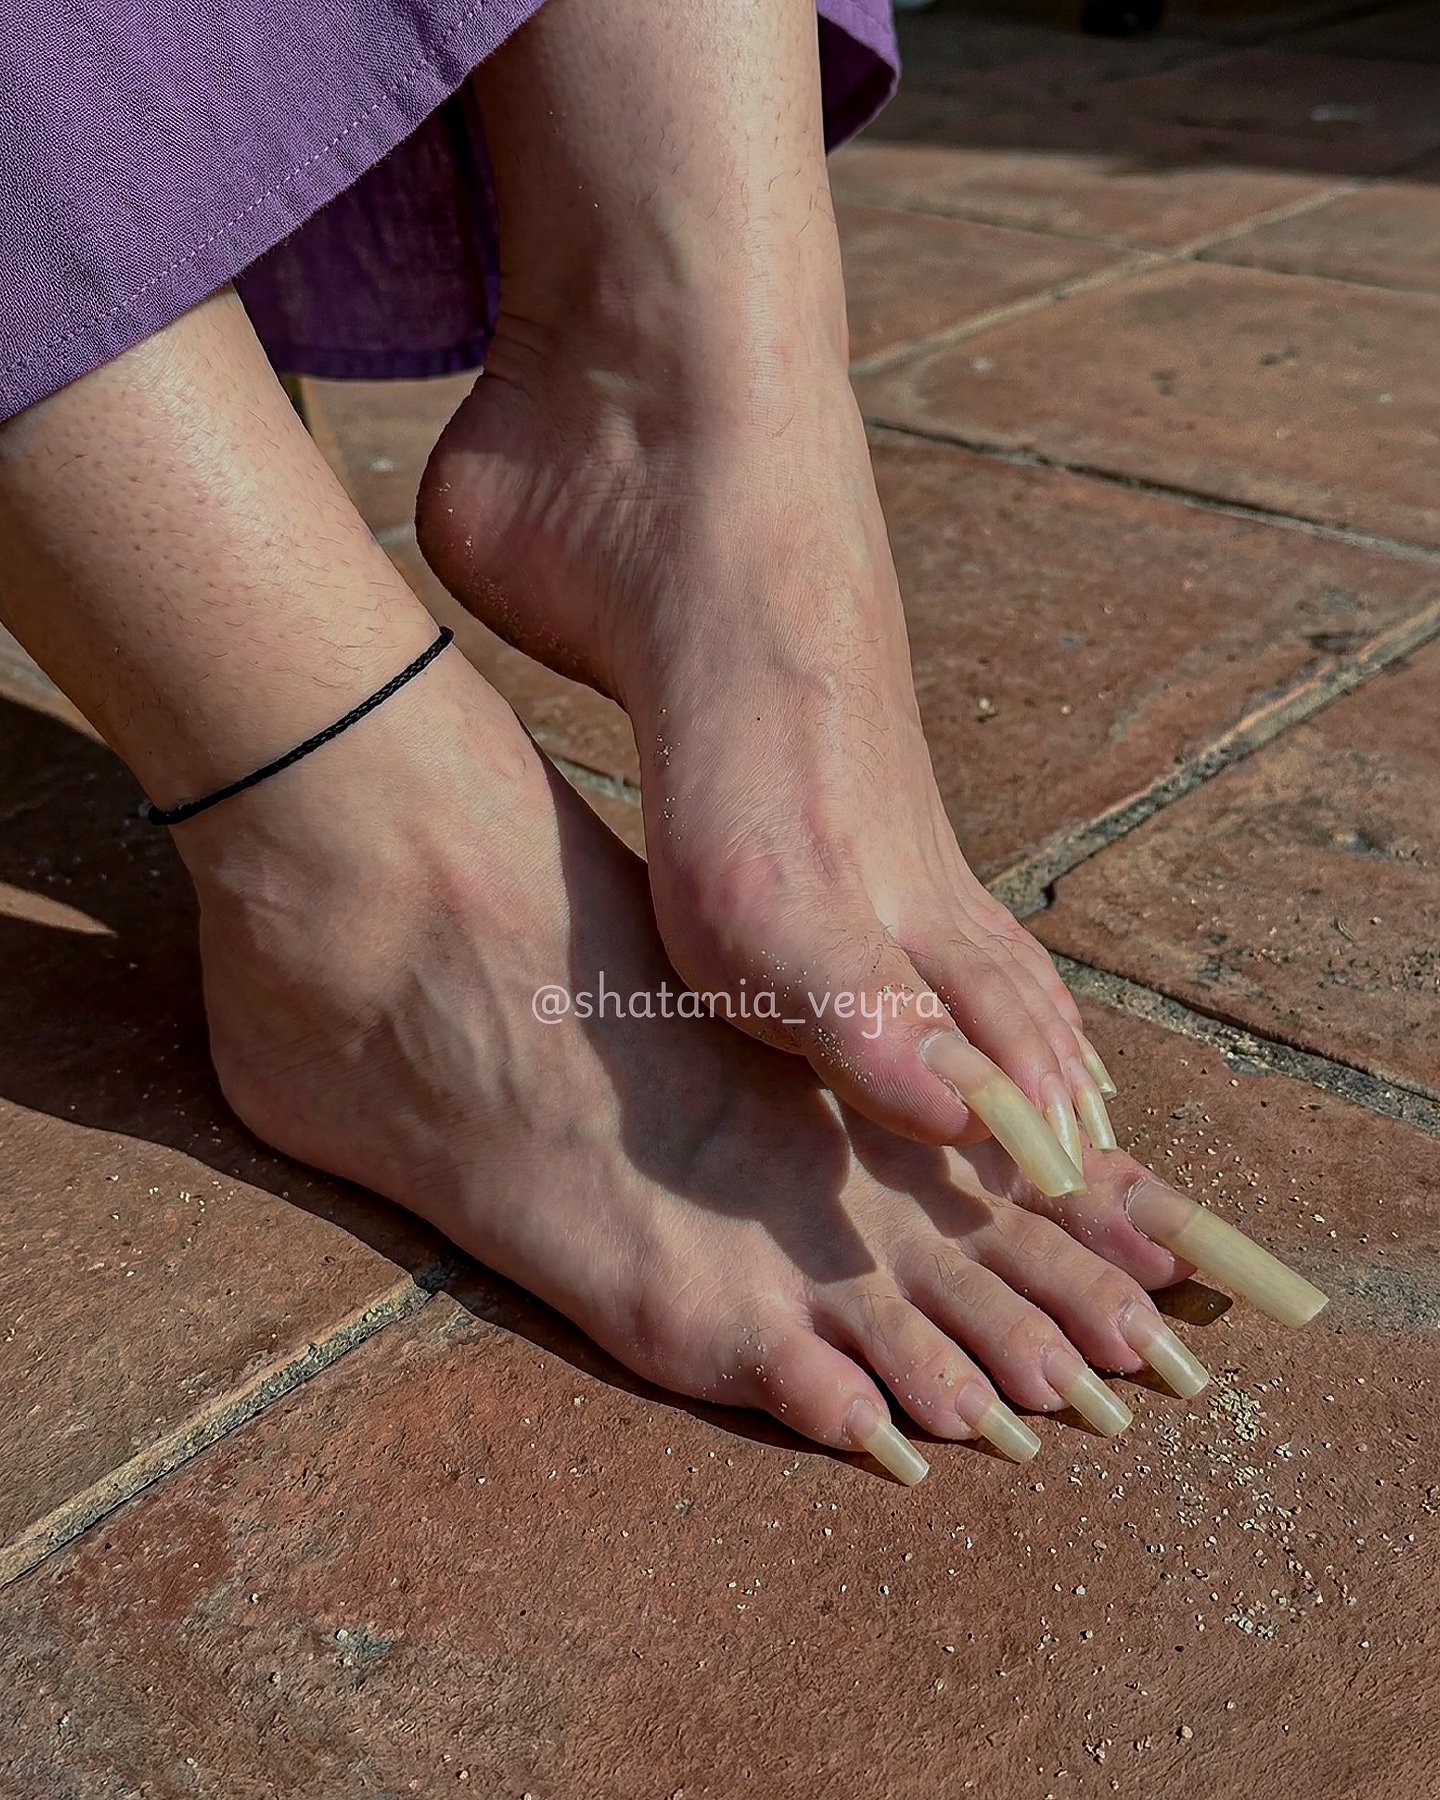
Pedicure at Home: Get Salon Results Every Time
A pedicure at home that genuinely looks like a salon pedicure is not about having salon-level equipment. It is about understanding the sequence — knowing exactly why each step happens in the order it does and what goes wrong when it is skipped. The difference between a home pedicure that lasts three days and one that lasts three weeks comes down to four or five specific decisions, none of which require expensive products or special skills.
This guide covers the complete pedicure at home process in four phases — Prepare, Shape, Polish, Finish — plus five exclusive techniques developed through deep experience and community knowledge-sharing that produce results the standard tutorials simply do not achieve. Every step has a reason. Understanding those reasons is what turns a home pedicure from functional to genuinely beautiful.
01 Why Home Pedicures Go Wrong (And the Fix)
Most home pedicure problems come from the same handful of mistakes — repeated in the same order, producing the same frustrating results. Identifying them is the fastest possible shortcut to a better result right now, before changing a single product.
Skipping or Rushing the Soak
Without a proper soak, cuticles are stiff and resist the pusher, nail filing produces rough edges rather than smooth ones, and exfoliation does almost nothing to the surface skin.
Applying Polish to Oily Nails
Natural nail oils, lotion residue, or any moisture on the nail plate before polish causes peeling and chipping within days — regardless of polish brand or quality.
Applying Coats Too Thick
A thick coat of polish looks great for about 12 hours and then develops bubbles, dents, and uneven texture as it finishes drying — the outside hardens while the inside is still soft.
Not Capping the Free Edge
Polish that stops at the nail surface without wrapping across the tip will begin chipping at the leading edge within days — the most exposed area receives no protection.
Moisturising Before Polish Is Fully Dry
Foot cream applied before polish has fully set introduces oils to the still-curing surface — causing surface texture issues and dramatically reducing polish adhesion and longevity.
02 The Complete Home Pedicure Toolkit
The right tools make a genuinely significant difference to the ease and quality of a home pedicure. This is not an excuse to spend a lot of money — most of these are inexpensive and last years. But using the wrong tools (or missing a few key ones) creates friction at every step of the process.
Foot Basin
A dedicated basin for soaking. Wide enough for both feet, deep enough for ankle coverage.
EssentialEpsom Salts
Added to the soak water. Softens skin, reduces any swelling or tension, and supports the soak’s effectiveness.
Essential180-Grit Nail File
For shaping nails. Always file in one direction only — back and forth causes splitting, especially on longer nails.
EssentialCuticle Pusher (Wood or Rubber)
For gently pushing softened cuticles back. Wood or rubber tips — never metal, which tears the delicate nail margin.
EssentialQuality Cuticle Nipper
For removing loose cuticle skin only — not for aggressive cuticle cutting. One quality nipper lasts years.
EssentialNail Dehydrator
Applied before base coat. Removes oils and moisture from the nail plate surface — the single biggest longevity upgrade.
EssentialGlass-Finish Top Coat
Adds mirror-like depth to any colour and extends wear significantly versus a standard quick-dry top coat.
UpgradeLED Lamp (for Gel)
Required for gel polish. A 36W+ lamp cures toenails properly in 60 seconds per coat and massively extends pedicure life.
UpgradeSilicone Toe Separators
Keeps toes separated during polish application. Silicone over foam — they hold position better and are reusable indefinitely.
UpgradeThe honest truth about budget: The four things most worth spending money on in a home pedicure kit are a quality cuticle nipper, a nail dehydrator, a glass-finish top coat, and an LED lamp if gel is the chosen finish. Everything else can be basic and inexpensive without affecting results.
Prepare and Soften
Phase 1 sets up everything that follows. No amount of good technique in the polish phase compensates for inadequate preparation. This phase is where the result is won or lost — it just does not look like it yet.
Remove All Old Polish Completely
Use 100% acetone on a lint-free wipe — not regular nail polish remover, which leaves residue. Wipe from cuticle to tip in one direction. Check under the free edge and along the sides of each nail. Any remaining stain or residue will show through the new application, particularly under lighter colours and French tips.
Prepare the Soak
Fill the foot basin with water at exactly body temperature — 37 to 38°C (98 to 100°F). At this temperature, the nail plate and surrounding skin absorb moisture most effectively, and the softening effect lasts longest. Add two tablespoons of Epsom salt and four to five drops of cuticle oil. The oil begins conditioning the nail plate and cuticle area during the soak itself, rather than waiting until after.
Soak for a Full 10 Minutes
Both feet submerged, timer set. 10 minutes is the minimum for cuticles to soften to workable consistency and for skin to prepare for exfoliation. Less than this and the cuticle work will feel resistant. During the soak, gently flex each toe — this helps the warm water and oil reach the skin along the lateral nail folds where cuticle build-up most commonly occurs.
Dry and Allow the Warm-to-Cool Transition
Pat feet dry thoroughly — paying attention to the spaces between toes and around nail edges. Then wrap each foot loosely in a dry towel and wait 3 minutes before beginning cuticle work. This transition step allows skin to move from the fragile over-softened soak state to a slightly firmer working consistency — still beautifully softened, but less prone to the tearing and uneven results that immediately post-soak cuticle work can produce. This is one of the five exclusive insights in detail below.
Shape, Cuticles, and Exfoliate
Phase 2 is where the physical structure of the nail and the skin is established. Done well, it is what makes the finished pedicure look precise and intentional. Done poorly, it is why finished polish looks messy even before it chips.
File to the Chosen Shape
Using the 180-grit file, shape each nail with strokes moving in one direction only — from corner to center, lifting the file between strokes rather than sawing back and forth. Maintain the chosen shape consistently across all ten nails. Even a slight inconsistency between nails reads as less polished in the finished result. For shape guidance and the specific proportions that suit different lengths, the long toenails aesthetic guide covers every shape in detail.
Push Cuticles Back — Gently and Deliberately
Apply one drop of cuticle oil to each nail before pushing. Using the rubber or wood cuticle pusher, apply light even pressure from the base of the nail — where the cuticle meets the skin — in a single smooth outward stroke. The cuticle should move cleanly. If it resists, the nails need more soak time, not more pressure. Never apply force to a cuticle that is not fully softened.
Nip Only What Is Loose
Use the cuticle nipper only for removing truly loose, dead cuticle skin — the white, dried material that remains after pushing. Never cut into living cuticle tissue, which bleeds, becomes infected, and grows back rougher and more problematic than before. The goal is always the minimum necessary removal, not the most aggressive cut. Less is more with cuticle nippers.
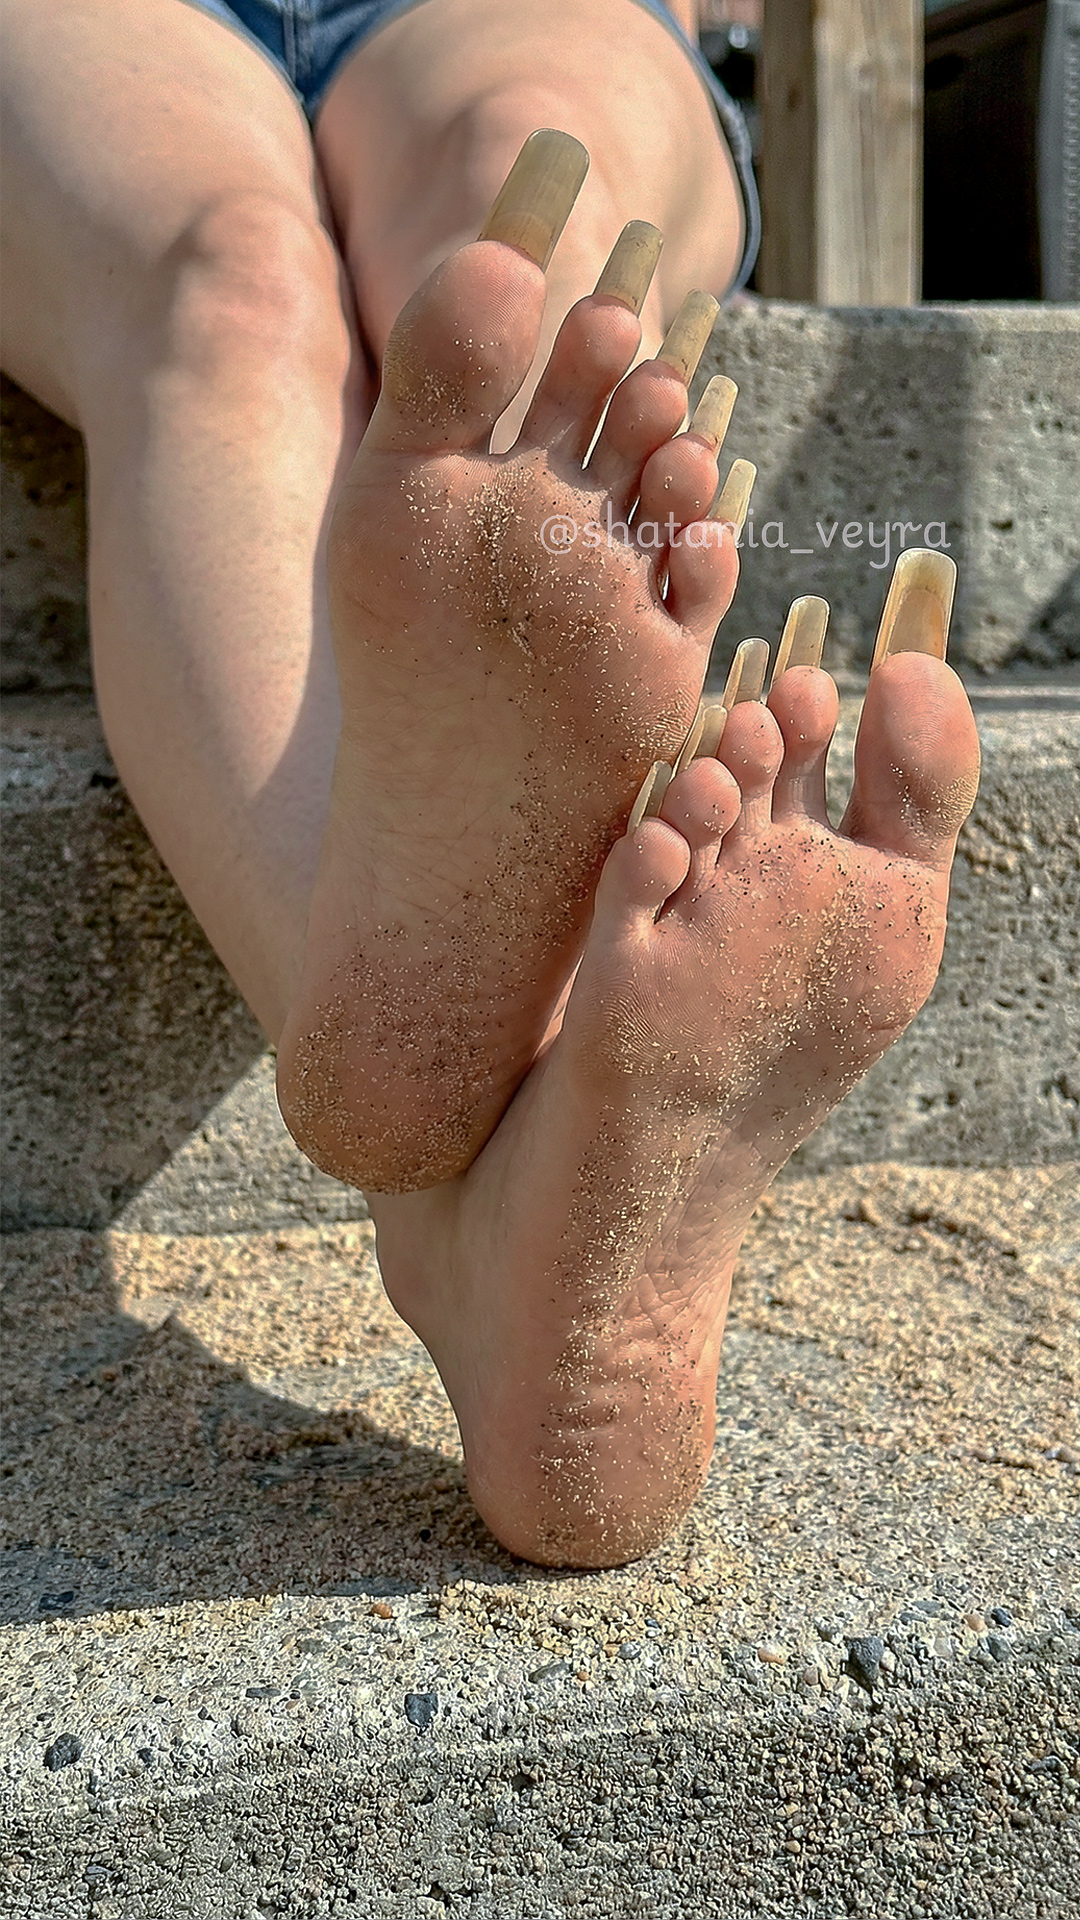
Exfoliate Heels and Soles
While skin is still softened from the soak, apply a lactic acid or urea-based chemical exfoliant to heels and soles — not to the nail area. Work gently across the skin surface for the recommended contact time, then rinse. Chemical exfoliation on softened post-soak skin produces a dramatically smoother result than the same product on unprepared skin. For the full exfoliation routine, including frequency guidance and product selection, the complete foot care routine guide covers every detail.
Buff the Nail Surface Lightly
Using the buffing side of a 4-way buffer (or a separate 220-grit buffer), make two to three light passes across each nail surface. This removes surface ridges and creates the micro-texture that base coat bonds to. Do not over-buff — which thins the nail — and buff in one direction, not in circles. After buffing, the nail should look matte and feel smooth. Dust away any filing residue with a clean brush before moving to the polish phase.
Polish Application Mastery
This is the phase most home pedicure guides cover in the most detail — and yet it still goes wrong for the same consistent reasons. The technique details here eliminate the most common polish problems completely.
Dehydrate Every Nail
Apply nail dehydrator to every nail using a lint-free wipe or dedicated dehydrator brush. Allow to dry completely — 30 to 45 seconds. Use the double dehydrate technique covered in the exclusive section below for maximum adhesion. Do not touch the nail surface after dehydrating. Even clean fingertips transfer enough natural oil to compromise the dehydrated surface.
Apply Base Coat — The Adhesion Foundation
Thin, even base coat on every nail, capping the free edge. Allow to dry fully — at least 2 minutes for regular base coat — before colour. A base coat is not optional. It protects the natural nail from staining, creates the adhesion surface that colour bonds to, and evens out any remaining surface texture. Using a strengthening or bonding base coat rather than a standard one extends the total pedicure life by three to five days.
First Colour Coat — Thin and Deliberate
Load the brush by wiping one side on the bottle neck, leaving just enough polish for one stroke. Apply from just above the cuticle (leaving the 0.5mm negative space gap described in the exclusive section) to the nail tip in three strokes — one down the center, one each side. Cap the free edge. Allow to dry until the surface is no longer tacky before the second coat.
Second Colour Coat — Full Opacity
The second coat is slightly more generous than the first, bringing the colour to full pigmentation. Follow the same three-stroke technique and the same 0.5mm gap at the skin edges. Cap the free edge. Allow to dry fully. On deeper, more opaque colours, two coats is sufficient. On sheer or lighter colours, a third thin coat can deepen the finish without building the kind of thickness that causes denting and bubbling.
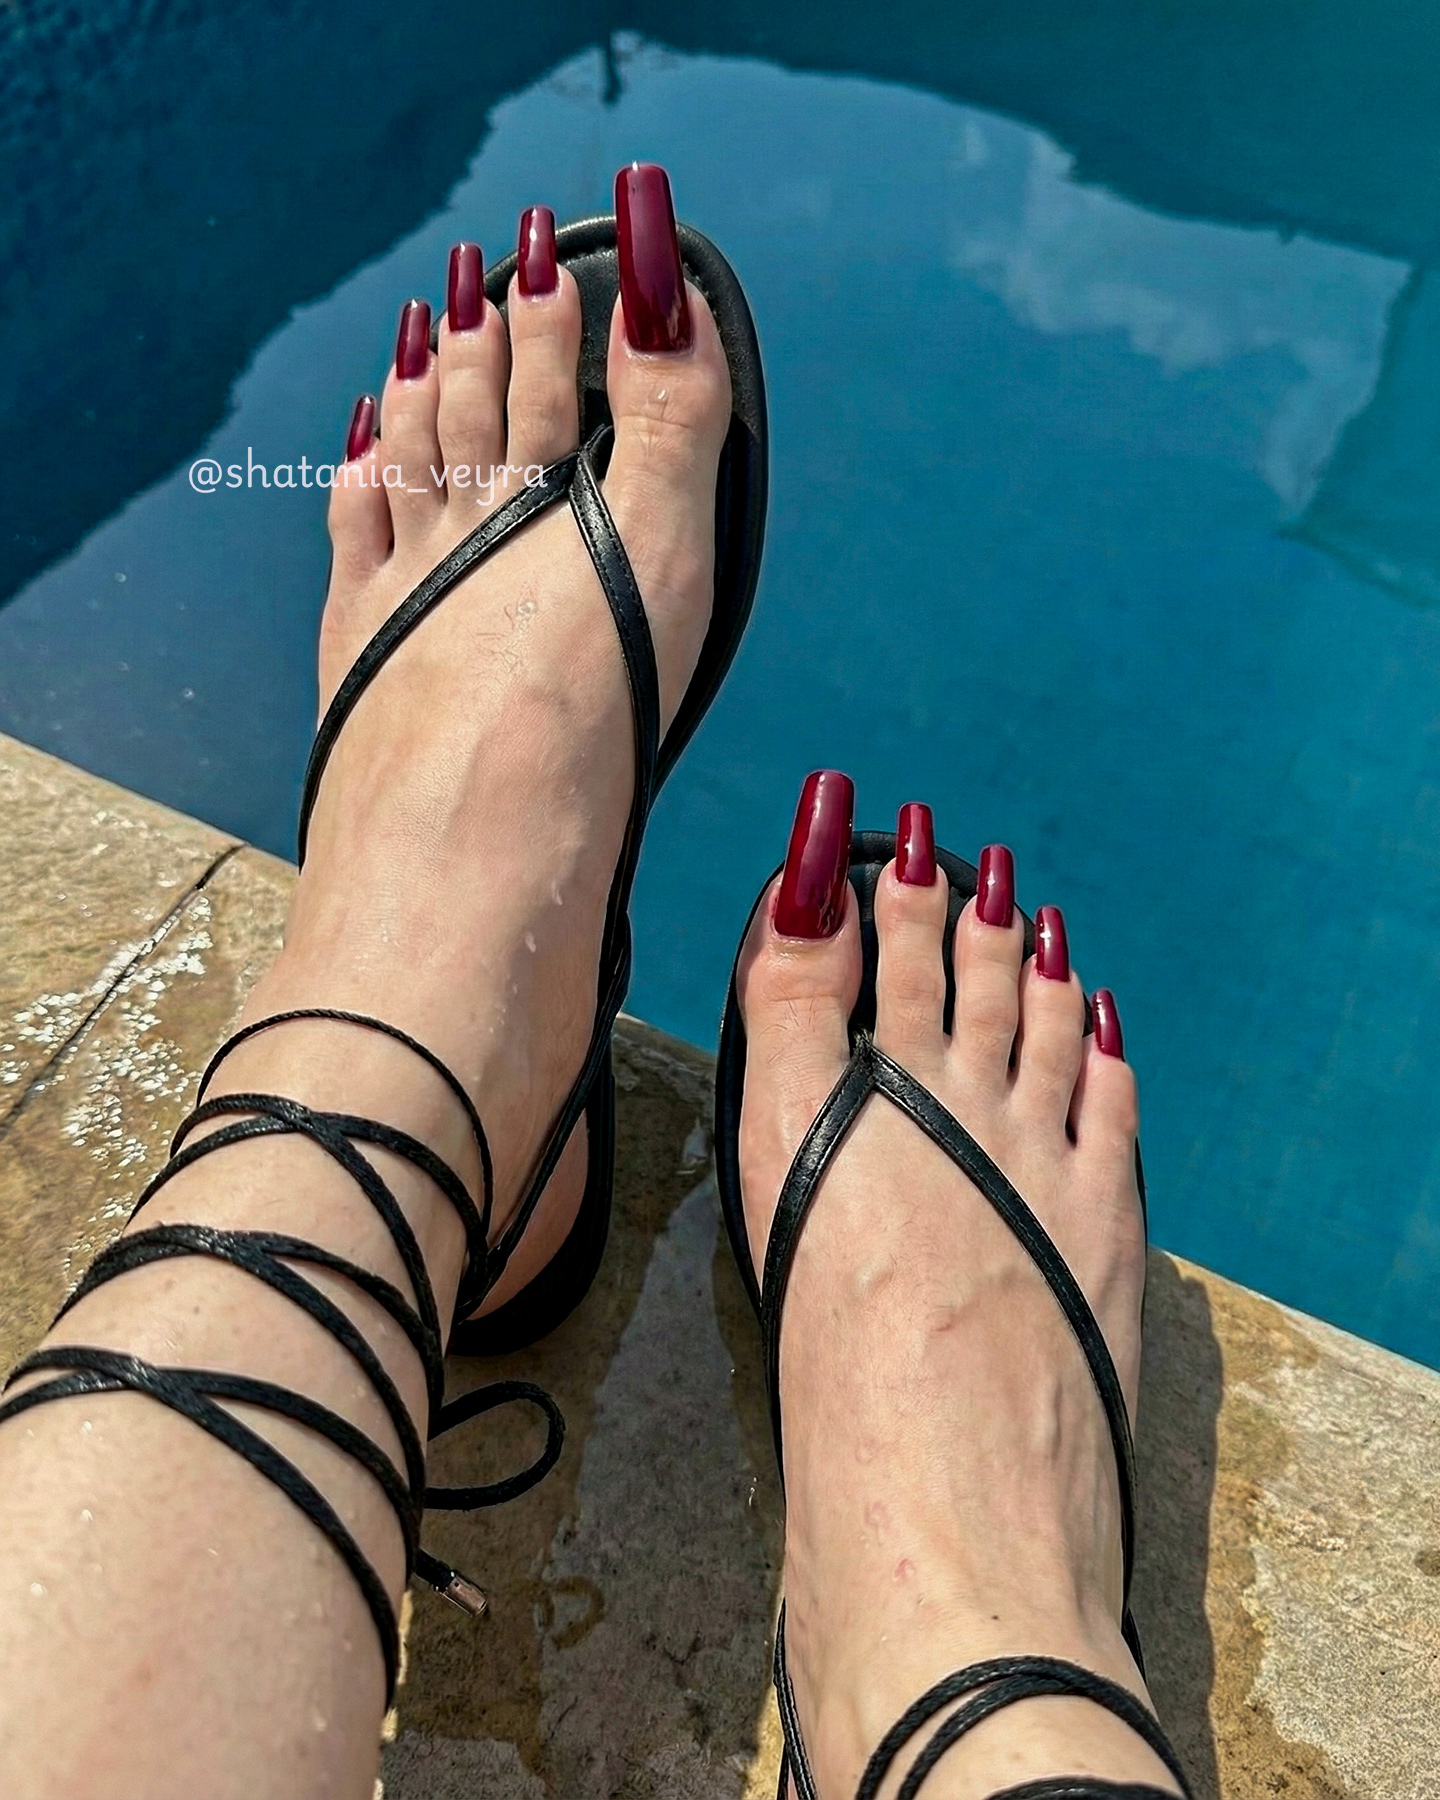
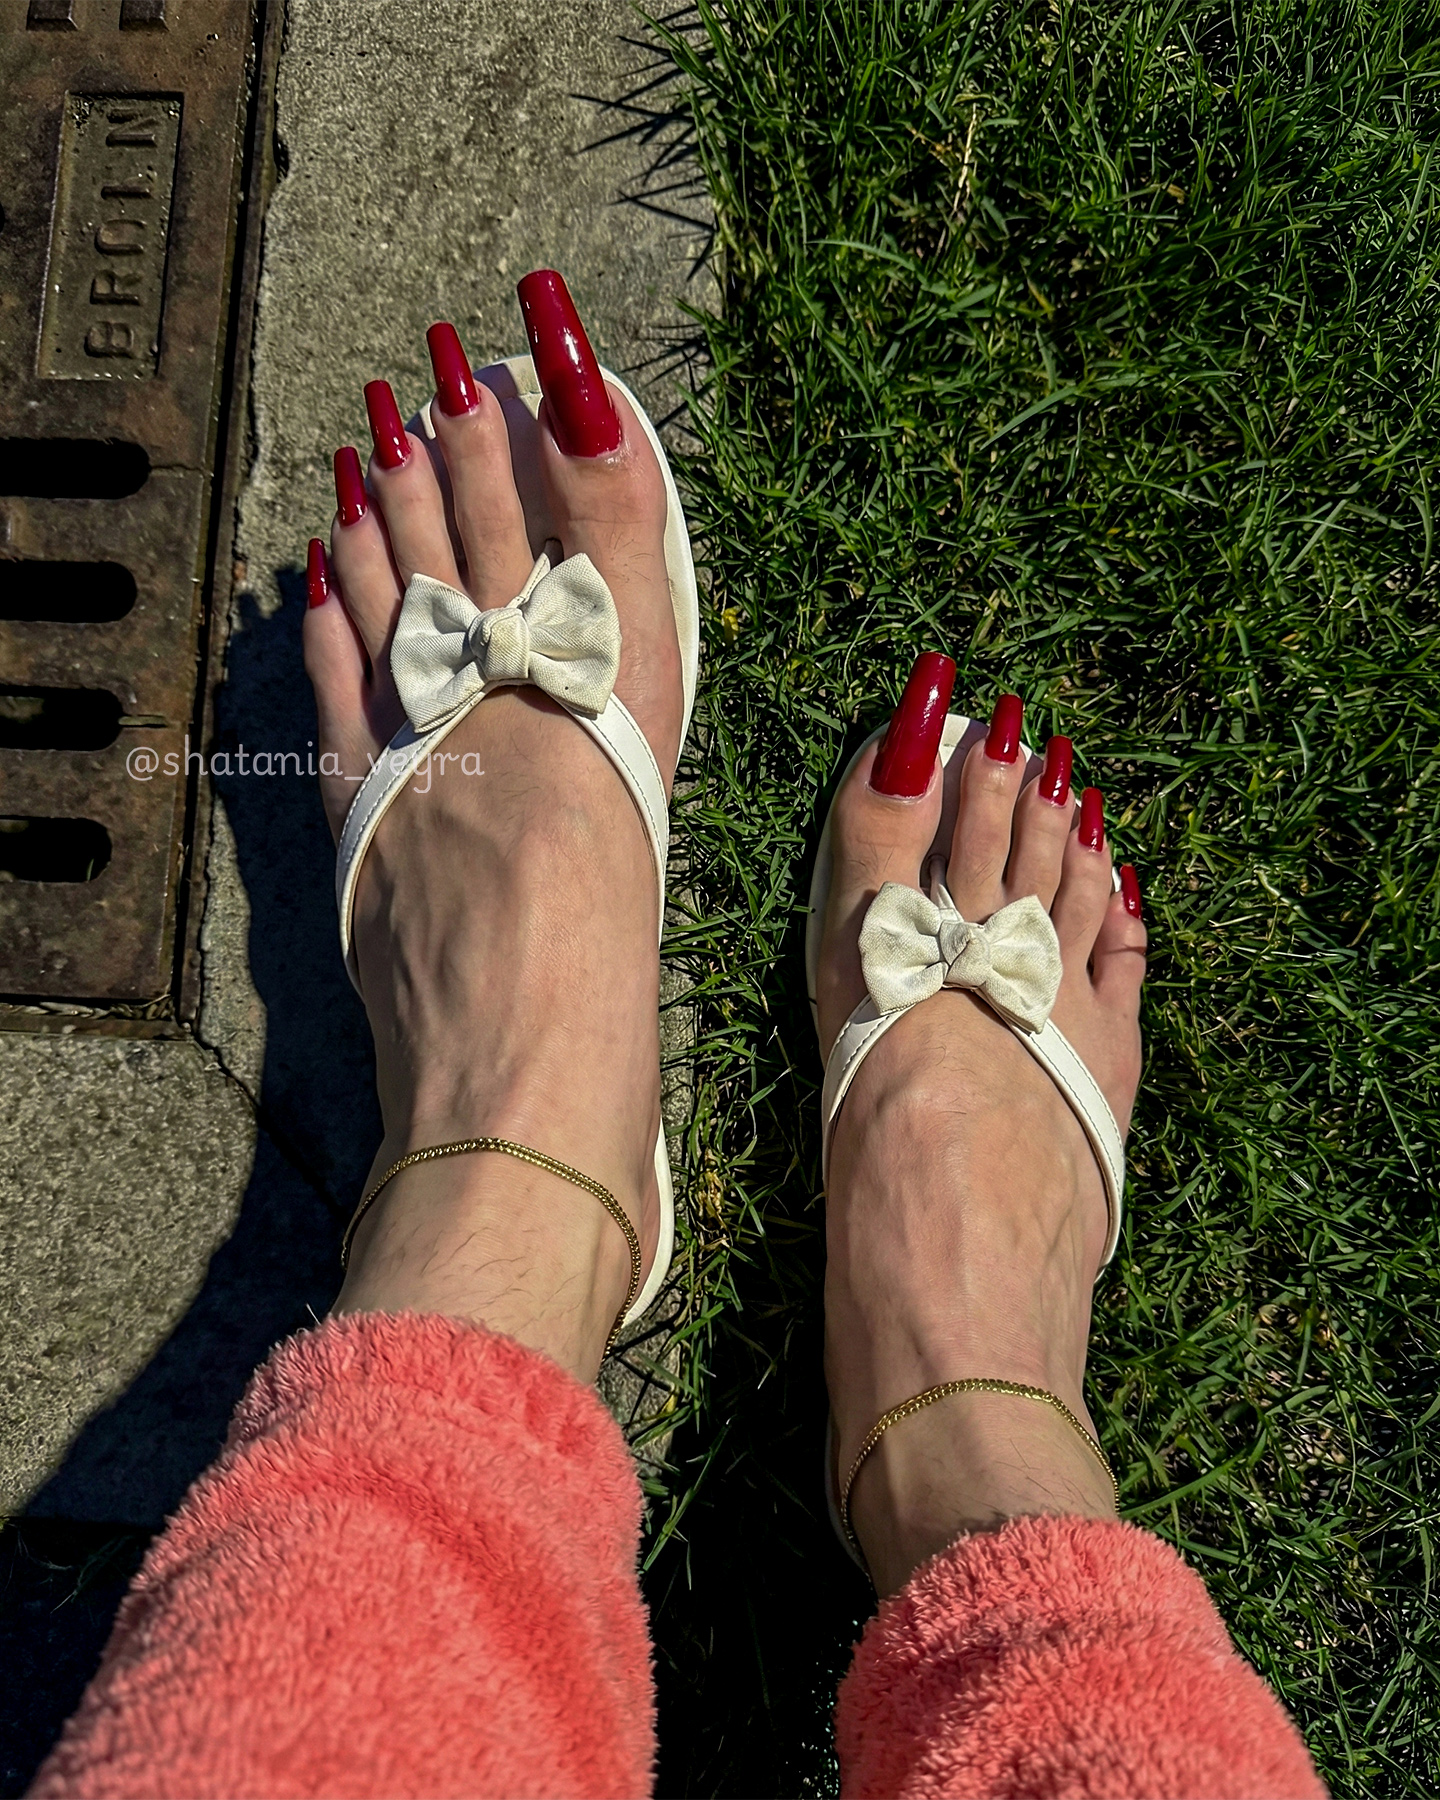
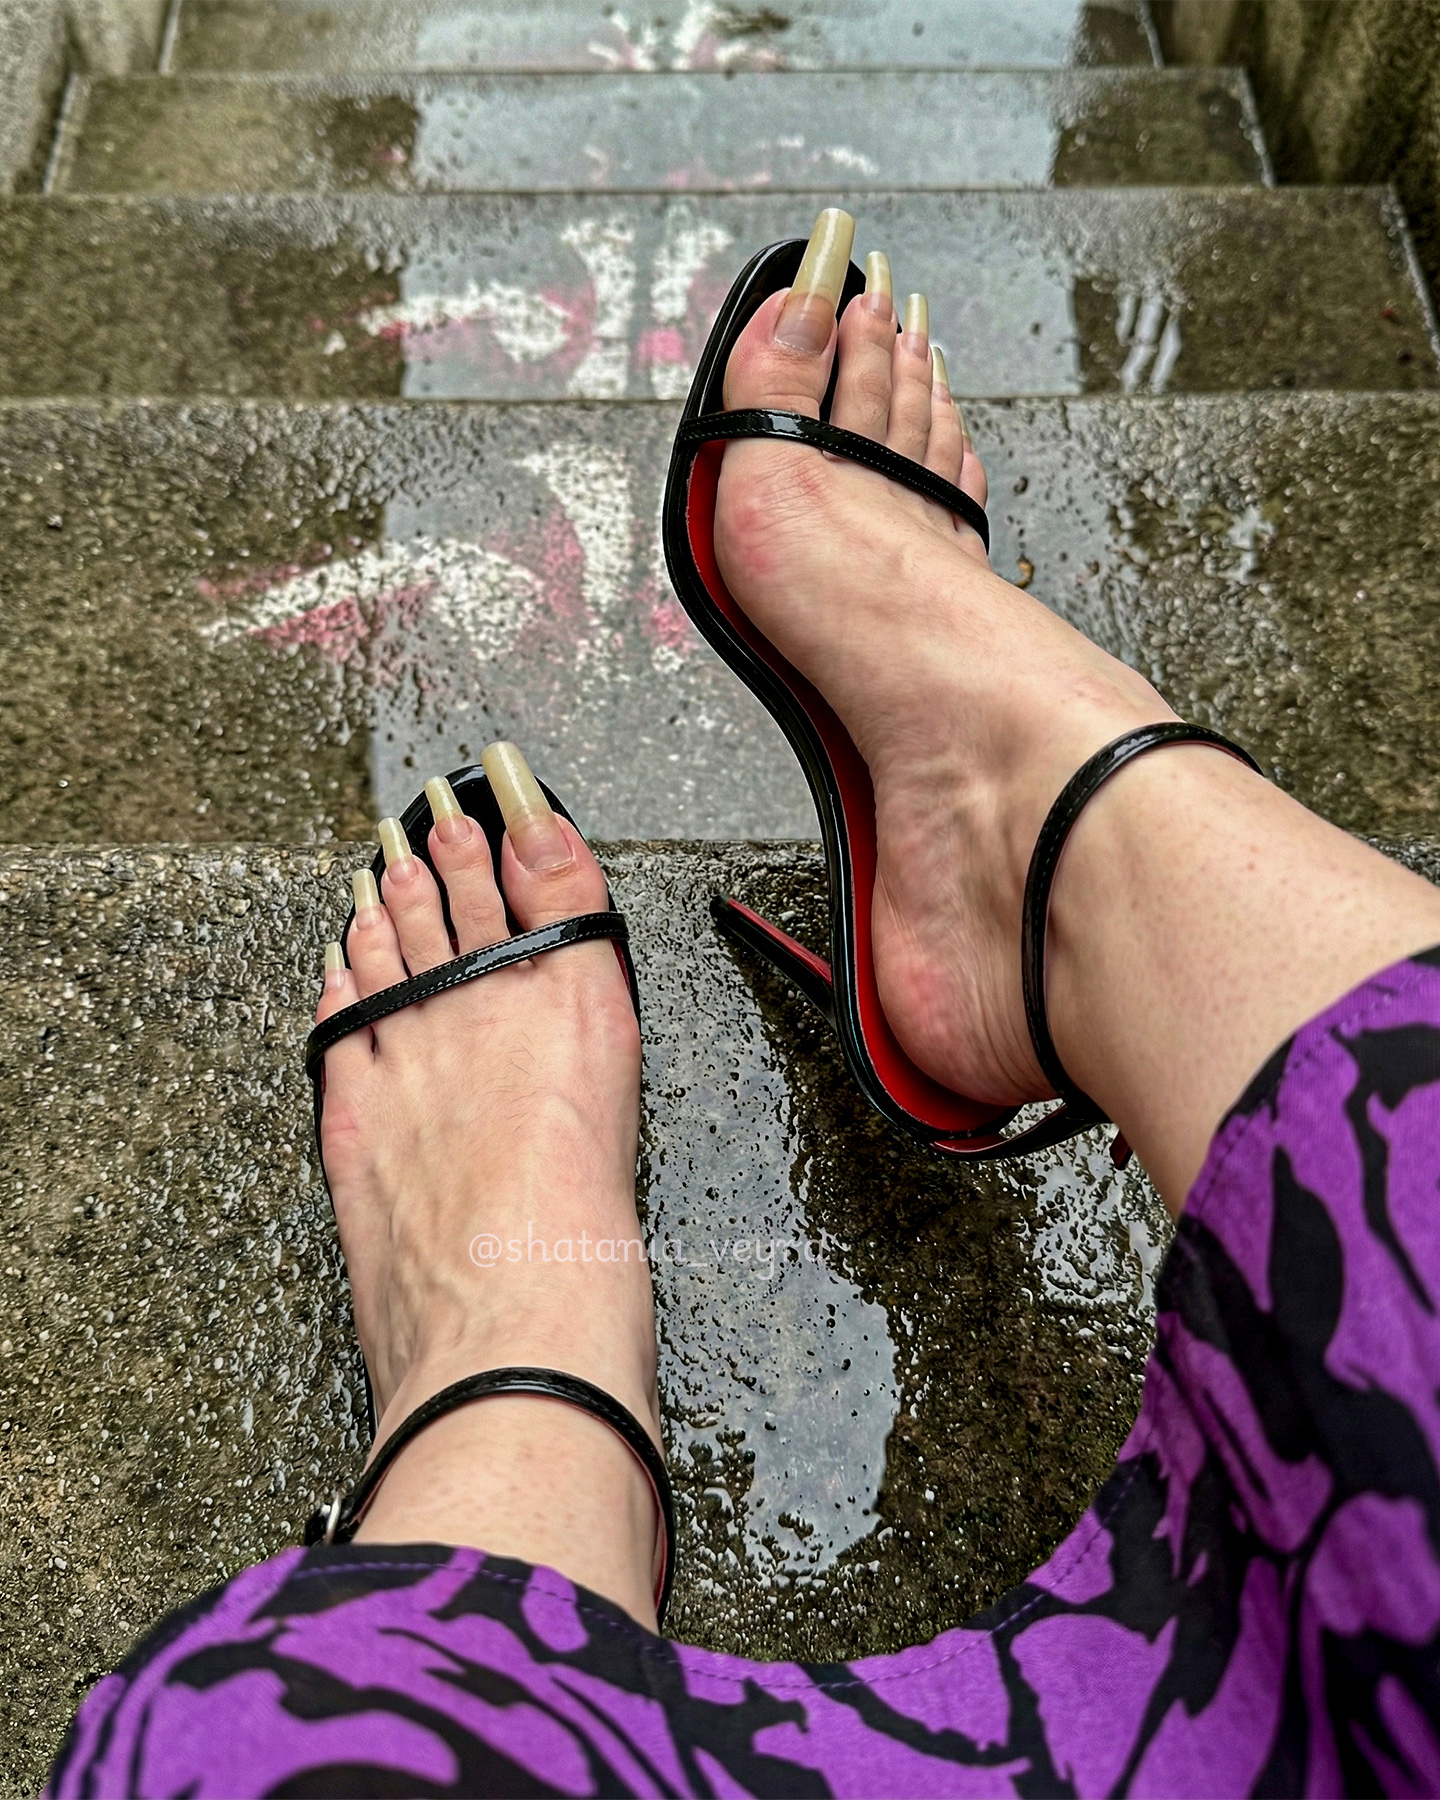
Top Coat — The Finish That Changes Everything
Apply a generous but even layer of glass-finish top coat over the completely dry colour, capping the free edge. The top coat is where the pedicure aesthetic comes fully alive — the depth of gloss it adds to the colour beneath is visible immediately and dramatically. Allow to dry for a minimum of 20 to 30 minutes before any foot contact with surfaces. For the most extensive top coat guidance, particularly for gel applications, the gel pedicure guide covers curing, timing, and inhibition layer removal in full.
Finish and Aftercare
Phase 4 is what most guides call the end of the pedicure. In reality it is the beginning of maintenance — the habits that determine whether the beautiful result from Phase 3 lasts four days or four weeks.
- Wait the full drying time before touching anything. Regular top coat takes 20 to 30 minutes to set to the point where light contact is safe — but a full hour to be genuinely impact-resistant. Gel top coat is fully cured after the final LED cure and requires no waiting time, which is one of the most underrated practical advantages of gel over regular polish.
- Apply cuticle oil once polish is fully dry. The cuticle area and lateral nail folds have been through a lot — soaking, pushing, and potential nipping. Cuticle oil applied after the pedicure begins the restoration process immediately. Massage in thoroughly with circular pressure for 30 seconds per nail.
- Apply foot cream to everything except the nails. A generous amount of rich foot cream — heels, soles, arches, the skin of each toe — seals in hydration and gives the overall foot presentation the luminous, cared-for quality that polished nails alone cannot create. This is the final step that makes a home pedicure look complete rather than just painted.
- Refresh top coat at day 7 to 10. A single coat of glass-finish top coat applied mid-cycle restores the gloss, seals any surface micro-chips, and visually resets the entire pedicure without full removal and reapplication. This one habit alone doubles the effective lifespan of any home pedicure with five minutes of effort.
- Daily cuticle oil from this point forward. One drop per nail every morning. The sustained hydration maintains the clean cuticle work from Phase 2 and keeps nail edges soft and precise between pedicures. Everything the full pedicure achieved, daily cuticle oil extends indefinitely.
“The pedicure at home does not end when the top coat dries. It continues in the daily cuticle oil, the weekly sole care, and the mid-cycle top coat refresh. The habit is what makes the result sustainable.”
5 Home Pedicure Secrets Nobody Else Tells You
These five techniques are the result of deep experience, obsessive testing, and knowledge shared within communities of feet enthusiasts who take their pedicures seriously. None of them appear in standard home pedicure tutorials — and each one makes a measurable, visible difference.
The 37°C Water Temperature Rule
Most foot soak guides say “warm water” without specifying temperature. The temperature matters more than most people realise. Water above 40°C (104°F) causes a heat-response in skin that actually makes cuticles tighten and harden after the foot is removed — the opposite of the intended effect. Water below 35°C does not soften effectively. The optimal temperature is 37 to 38°C — body temperature or just slightly above. At this exact temperature, the nail plate and surrounding skin absorb moisture most effectively, cuticles soften to the ideal workable consistency, and the softening effect persists longest once the foot is out of the water. A kitchen thermometer used once to understand what this temperature feels like eliminates all the guesswork from every subsequent pedicure soak.
The Warm-to-Cool Transition Wait
After drying the feet post-soak, most tutorials say to begin cuticle work immediately. The exclusive technique is to wrap each foot in a dry towel and wait exactly 3 minutes before touching the cuticles. Post-soak skin is in a hyper-softened, slightly fragile state — cuticle work done at this point tears and folds unevenly because the skin has zero resistance. After 3 minutes, the skin settles to a firmer working consistency — still significantly softened compared to unprepared skin, but no longer fragile. Cuticles in this settled state push back in a single clean motion without tearing, and the lateral nail folds hold their shape during the push rather than bunching. This one wait produces cleaner cuticle work than any change of pusher or technique.
The Counter-Clockwise Cuticle Oil Massage
Cuticle oil applied and then left to sit achieves surface conditioning. Cuticle oil applied with a specific massage technique achieves something significantly deeper. The counter-clockwise circular massage — 90 seconds per nail, applying pressure in the direction opposite to nail growth — does two things that a simple application cannot: it mechanically pushes the oil through the skin rather than waiting for passive absorption, and it stimulates local blood flow to the nail matrix, which actively supports nail growth, nail plate density, and long-term cuticle health. Applied with this technique at the start of every home pedicure (after the soak, before any other work) and again at the finish, cuticle oil produces structural nail improvements rather than just surface softness.
The 0.5mm Negative Space Gap
Professional nail technicians apply polish with a deliberate 0.5mm gap between the polish and the lateral nail folds and cuticle skin — leaving a hairline of bare nail visible at the edges. Most home pedicures apply polish right to the skin. The 0.5mm gap produces three simultaneous benefits: polish lasts noticeably longer because it has no contact with the flexible skin that pulls and lifts at nail edges; it looks more precise and professionally executed because the gap creates an optical illusion of a cleaner, sharper edge than full-coverage application does; and it eliminates the most common cause of skin staining under dark colours. This gap requires no special skill — just the awareness that pulling the brush slightly away from the edges on every stroke produces a better result than painting to the skin.
The Two-Bowl System
Standard home pedicure advice uses one basin for everything. The exclusive two-bowl system uses a soaking bowl and a separate rinsing bowl filled with plain warm water. The soaking bowl contains the Epsom salt and cuticle oil solution; the rinsing bowl is used to clean each foot between cuticle and exfoliation steps. The separation does two important things: it prevents softened skin debris and cuticle material from re-depositing onto the foot during prep work (which creates the gritty texture that makes exfoliation feel inconsistent), and it gives each foot a fresh, clean starting surface for the buffing and dehydration steps. The result is a noticeably cleaner, more even base for polish — particularly visible in how evenly dehydrator absorbs across the nail surface when applied to a truly clean nail versus one that has sat in its own softened skin debris.
08 Taking the Home Pedicure Further
The complete pedicure at home process covered in this guide produces beautiful results consistently. For those who want to go further — in design, longevity, or overall foot presentation — the full library of guides covers every specific direction in detail.
- For gel application, LED curing, and achieving 5-week wear: the gel pedicure guide covers every technical detail of the gel process, including the exclusive double dehydrate and extended toenail curing techniques.
- For nail design ideas to use on freshly prepared nails — from chrome to micro-French to glazed nude: the toenail designs guide and the French pedicure guide cover every style category for 2026.
- For the skin and sole care that makes the overall foot presentation as beautiful as the nails: the pretty feet guide and the daily, weekly, and monthly foot care routine guide cover everything.
- For the broader picture of what beautiful feet look like in the context of summer styling, sandal choices, and overall presentation: the summer feet guide brings it all together seasonally.
- For the full archive of exclusive content that goes beyond what any single guide covers: shataniaveyra.com/archive.
Exclusive Access
See What a Perfect Home Pedicure Looks Like
Premium close-up photography showing exactly what a perfectly executed home pedicure produces — every detail, every finish, every inch of flawless presentation. For Patreon members only.
Explore Exclusive Content →09 Frequently Asked Questions
The Takeaway
A pedicure at home that looks as beautiful as a salon pedicure is genuinely achievable — not because of expensive products or rare skill, but because of understanding the process. The right temperature for the soak. The 3-minute transition wait. The 0.5mm gap. The double dehydrate. The mid-cycle top coat refresh. These are small, specific decisions that compound into a result that is genuinely beautiful and lasts weeks rather than days.
For more nail and foot beauty content that goes this deep — technique, product knowledge, and exclusive insights that genuinely change results — follow on Instagram for daily inspiration. And for the most exclusive content — close-up photography and techniques that go further than any guide — the Patreon membership is where it all lives.