French Pedicure: The Complete Guide to Perfect Tips
There is a reason the French pedicure has never actually gone away. Every few years someone declares it dated, and then every runway, every beach, every sandal season brings it back with full force: because nothing else does what a perfect French tip does. It makes the foot look longer. The toenails look cleaner. The entire presentation looks polished and intentional in a way no other single nail style achieves as consistently.
Most French pedicures go wrong in the same three or four places, and most tutorials gloss right over them. The smile line comes out uneven. The tip is too thick, or the white is too blue-toned and harsh. It chips at the edge within a week. These are not skill failures: they are technique gaps. This guide fills every single one of them, including five exclusive insights that genuinely change results and are not found in any standard French pedicure tutorial anywhere.
01 Why the French Pedicure Never Dies
The French pedicure was invented in 1975 by Jeff Pink for Hollywood film sets: a solution to the problem of actresses needing toenails that would look right in every scene without colour continuity issues. A nude base with a white tip worked for every costume, every scene, every lighting setup. It worked then for the same reason it works now: it is the most universally flattering nail look ever designed.

The French pedicure works because it mimics the appearance of a perfectly healthy, naturally ideal toenail: the kind of nail that the brain reads as deeply satisfying. The pale bed, the white free edge, the clean contrast. It triggers a recognition response that no other nail style quite matches. That is why it has survived every trend cycle for five decades, and why nail experts at The Zoe Report confirm it is the number one trending pedicure look for spring and summer 2026, described as “clean, classic, and goes with every sandal.”
The 2026 update: The thick square-tipped French pedicure of the early 2000s is gone. What has replaced it is more refined, more modern, and more beautiful: thinner smile lines, warmer whites, softer bases, and the micro-French that is dominating every mood board this season.
What has changed is not the concept: it is the execution. Modern French pedicure technique is more precise, more delicate, and more sophisticated than its predecessor. And the version done on longer toenails, where the smile line has space and proportion to breathe fully, is something genuinely extraordinary to see in person.
02 The Full French Pedicure Style Spectrum for 2026
The French pedicure is not one look. It is a family of looks unified by the principle of a contrasting tip on a neutral base. Here is the full 2026 spectrum from most minimal to most dramatic.
Ultra-thin white line, just a whisper of tip. The most refined, most modern, most worn French pedicure style of 2026.
The original. A clearly visible white tip on a sheer pink base. Bold, clean, and instantly recognisable.
A warm gold or champagne tip instead of white. Softer, more luxurious, and flattering across every skin tone.
The neutral base stays; the tip goes bold in red, plum, or black. The most editorial French pedicure variation and a serious statement.
A sheer glaze over the full nail with a barely visible tip highlight. The dreamiest, most ethereal French expression.
For a broader look at how French tip designs fit within the complete landscape of toenail design options for 2026, the toenail designs guide covers every category in full, including which designs perform best on different nail lengths and shapes. For the visual breadth of what these looks look like on real nails, browse the photo gallery.
03 Classic vs Modern French Pedicure: Side by Side
Understanding the specific differences between classic and modern French pedicure execution explains exactly why one looks dated and the other looks current. These distinctions are small in description but dramatic in result.
| Element | Classic French | Modern Micro French ✦ 2026 |
|---|---|---|
| Tip Width | 2 to 4mm: clearly visible, bold contrast | 0.5 to 1.5mm: razor-thin, whisper of white |
| White Shade | Bright opaque white, often with blue undertone | Warm off-white, ivory, or sheer milky tone |
| Base Colour | Opaque or semi-sheer pink, sometimes ballet pink | Sheer nude, barely-there skin tone, glazed milk |
| Smile Line | Deep arc, clearly defined, hard edge | Shallow arc, soft edge, gradual fade into bed |
| Finish | Standard top coat, moderate gloss | Glass or gel top coat, mirror-like depth |
| Overall Feel | Polished, groomed, traditional | Refined, elevated, effortless luxury |
“The modern French pedicure is not about making less of a statement. It is about making a more sophisticated one. The micro-French says ‘I understand restraint’ in the same breath as ‘I understand elegance.'”
04 The Tools That Actually Matter for a French Pedicure
A French pedicure is one of those nail techniques where the tools make a disproportionate difference. Getting the smile line right with the wrong brush is genuinely difficult. Having the right tools makes it almost easy. Here is what is worth investing in.
Fine Nail Art Liner Brush (Size 0 or 00)
The most important tool in a French pedicure kit. A fine liner brush, not the wide brush that comes with nail polish, allows precise control of the smile line from both sides to the center. Synthetic bristles hold gel cleanly without fraying. This one tool eliminates 80% of the frustration associated with home French pedicures.
Sheer Nude Gel Base Polish
Choose a sheer, warm-toned nude or barely-pink gel that reads one shade warmer than the natural nail plate. The right base tone makes the finished French pedicure look like it is part of the nail rather than painted onto it: the warmth creates depth that cool-toned bases cannot achieve.
Warm Off-White Gel (Not Bright White)
The blue-white nail whites of the 1990s read harsh and artificial in 2026. A warm ivory, off-white, or slightly cream white gel creates a tip that looks soft and natural. Test against the nail plate before full application: the tip should feel like a refinement of the nail’s natural colour, not a stark contrast to it.
Glass-Finish Gel Top Coat
The top coat is what separates a beautiful French pedicure from an extraordinary one. A glass or mirror-effect gel top coat adds dimensional depth that amplifies both the warmth of the base and the crispness of the tip, making the whole look appear lit from within. Apply in a thin, even layer and cure for 90 seconds for maximum effect.
Silicone Toe Separators and Nail Guides
Silicone toe separators hold the foot steady during fine detail work. Nail guides or tape help those learning the smile line, though for longer toenails the freehand technique covered in the exclusive section below produces cleaner results than guides for reasons explained in detail there.
99% Isopropyl Alcohol and Lint-Free Wipes
Essential for wiping the gel inhibition layer after the final top coat cure. 99% IPA removes the sticky residue cleanly without dulling the finish, which is crucial for the glass-like clarity a modern French pedicure depends on. Never use regular cotton pads, which leave fibres in the still-tacky surface.
For the complete breakdown of every pedicure tool and which ones perform best at each stage of preparation, the pedicure tools guide covers every item in detail.
05 Step-by-Step French Pedicure Technique
This is the complete sequence for a full French pedicure: every step in the right order, with the timing and texture details that make the difference between a result that looks done and one that looks crafted. For the complete pre-application prep ritual, the home pedicure guide covers every step of the preparation phase.
Full Nail Preparation
Soak feet for 10 minutes, shape nails to the chosen silhouette, push cuticles back gently, and remove all loose cuticle edges. Buff the nail surface lightly with a 180-grit buffer, two to three passes only. Apply nail dehydrator using the double dehydrate technique (two applications, 60 seconds apart), then acid-free primer. The French tip is one of the least forgiving nail styles for uneven texture and oil contamination: prep here determines everything.
Apply the Flesh Coat Foundation
Before the base colour, apply one ultra-thin layer of a warm-flesh-toned sheer gel to the entire nail and cure for 60 seconds. This flesh coat creates a warm, living quality in the nail bed that makes the finished French pedicure look three-dimensional rather than painted. This step is covered in detail in the exclusive insights section below: it is one of the most impactful additions to a French pedicure routine that barely anyone knows about.
Apply Sheer Nude Base: Two Coats
Apply the first thin coat of sheer nude gel to all ten nails. Cure 60 seconds. Apply the second thin coat and cure 60 seconds. The base should be sheer enough that the natural nail shows through slightly. This is intentional: the warmth of the nail plate showing through the sheer base creates the depth and naturalness that defines a modern French pedicure.
Paint the Smile Line
Load the fine liner brush with a small amount of off-white gel. Working on one toe at a time: place the brush at the left corner of the nail and draw in a shallow arc to the center of the nail tip. Reload the brush. Place at the right corner and draw to the center, meeting the first line. The arc should be shallow: a depth-to-width ratio of approximately 1:6 for the proportionally correct smile line on toenails. One millimetre deep for every six millimetres of nail width. Cure each toe before moving to the next to prevent smudging.
Second Tip Coat and Micro-Seal
Apply a second thin layer of white gel over the smile line for opacity and crispness. Before curing, apply a micro-seal: a tiny bead of base coat or gel along just the smile line edge using the very tip of the brush, sealing the transition between tip and bed. Cure 60 seconds. This micro-seal, also covered in the exclusive section, dramatically reduces smile-line chipping, the most common French pedicure longevity problem.
Top Coat with Extended Cure
Apply a thin, even layer of glass-finish gel top coat over the entire nail, capping the free edge. Cure for 90 seconds: the extended cure creates a denser surface structure that maintains clarity and shine for weeks. Wipe the inhibition layer with 99% IPA using three slow circular motions per nail. The finished French pedicure should feel completely smooth to the touch with a depth of shine that reflects light from multiple directions simultaneously.
5 Exclusive Insights for a Flawless French Pedicure
These five techniques were developed through real testing and community knowledge-sharing among feet enthusiasts. None of them appear in standard French pedicure tutorials. Each one solves a specific, common problem, and together they produce a French pedicure result that is genuinely at a different level.
The Toenail Smile Line Geometry Rule
Standard French pedicure guides are designed for fingernails. The smile line geometry they produce, a deep C-curve, is proportionally wrong for toenails, which are wider relative to their length than fingernails. Applied to toenails, a deep arc creates a tip that looks thick, dominant, and slightly fake. The correct smile line for toenails follows a shallower arc: a depth-to-width ratio of approximately 1:6. For every 6mm of nail width, the smile line should dip only 1mm at its deepest point. This shallower arc sits proportionally correctly on a toenail and produces a tip that reads as elegant rather than heavy. Measure the nail width with a small ruler once, and use that as the reference for every French pedicure going forward.
The Two-Shade Tip Technique
Standard French uses one white across the entire tip. The technique that produces a tip with genuine depth and sculptural quality uses two whites applied in sequence. First coat: a slightly warmer, more opaque white (cream or ivory) as the base tip. Cure. Second coat: a cooler, slightly translucent white applied over the top. The warmth of the first layer prevents the tip from reading as harsh or blue. The translucent top layer softens the smile line edge and creates the impression that the white grows naturally out of the nail plate rather than sitting on top of it. The result is a French pedicure tip that looks genuinely three-dimensional in a way that single-shade tips simply cannot achieve.
The Flesh Coat Foundation
Before any base colour, apply one ultra-thin coat of a warm, sheer flesh-toned gel to the entire nail and cure fully. This flesh coat is not visible as a separate layer in the finished result: it disappears under the sheer base. What it does is create a warm, living quality in the nail bed that makes the finished French pedicure look dimensional rather than painted. The nail appears to have warmth coming from inside it rather than a coat of polish sitting on top of a bare surface. This is the technique visible in high-end nail photography and editorial pedicure images: it is what makes professional French pedicures look fundamentally different from home attempts using the same products.
The Freehand Method for Longer Toenails
Nail guides and French tip tape are designed for the short, flat geometry of standard toenails. On longer toenails, where the nail has more length and a more pronounced curve along its length, guides often fail to adhere cleanly at the edges, lift mid-application, and produce an uneven smile line at the corners. The freehand technique using a fine liner brush is more precise on longer toenails than guides. A guide imposes a standard arc shape. A free hand follows the actual, individual arc of that specific nail. Starting from each corner and drawing toward the center, rather than attempting one continuous stroke, allows the hand to pause and adjust at the midpoint, which is the most common failure zone in a French pedicure. Two strokes meeting at center beats one continuous arc every time on a longer nail.
The Smile Line Micro-Seal
The smile line edge, the transition point between white tip and nude base, is the thinnest, most exposed part of the entire French pedicure application. It is where chipping begins first, almost without exception. The solution is a micro-seal: after applying both white tip coats, before the top coat, load the very tip of the liner brush with a tiny amount of base coat or clear gel and run it along just the smile line edge. Not covering the tip or the base, just the transition line itself. This micro-layer bonds the edge of the white to the base underneath it at the point of greatest stress. After top coat, the seal is invisible but functionally significant: it consistently extends the life of a French pedicure smile line by five to seven days compared to an unsealed edge.
Visual Content
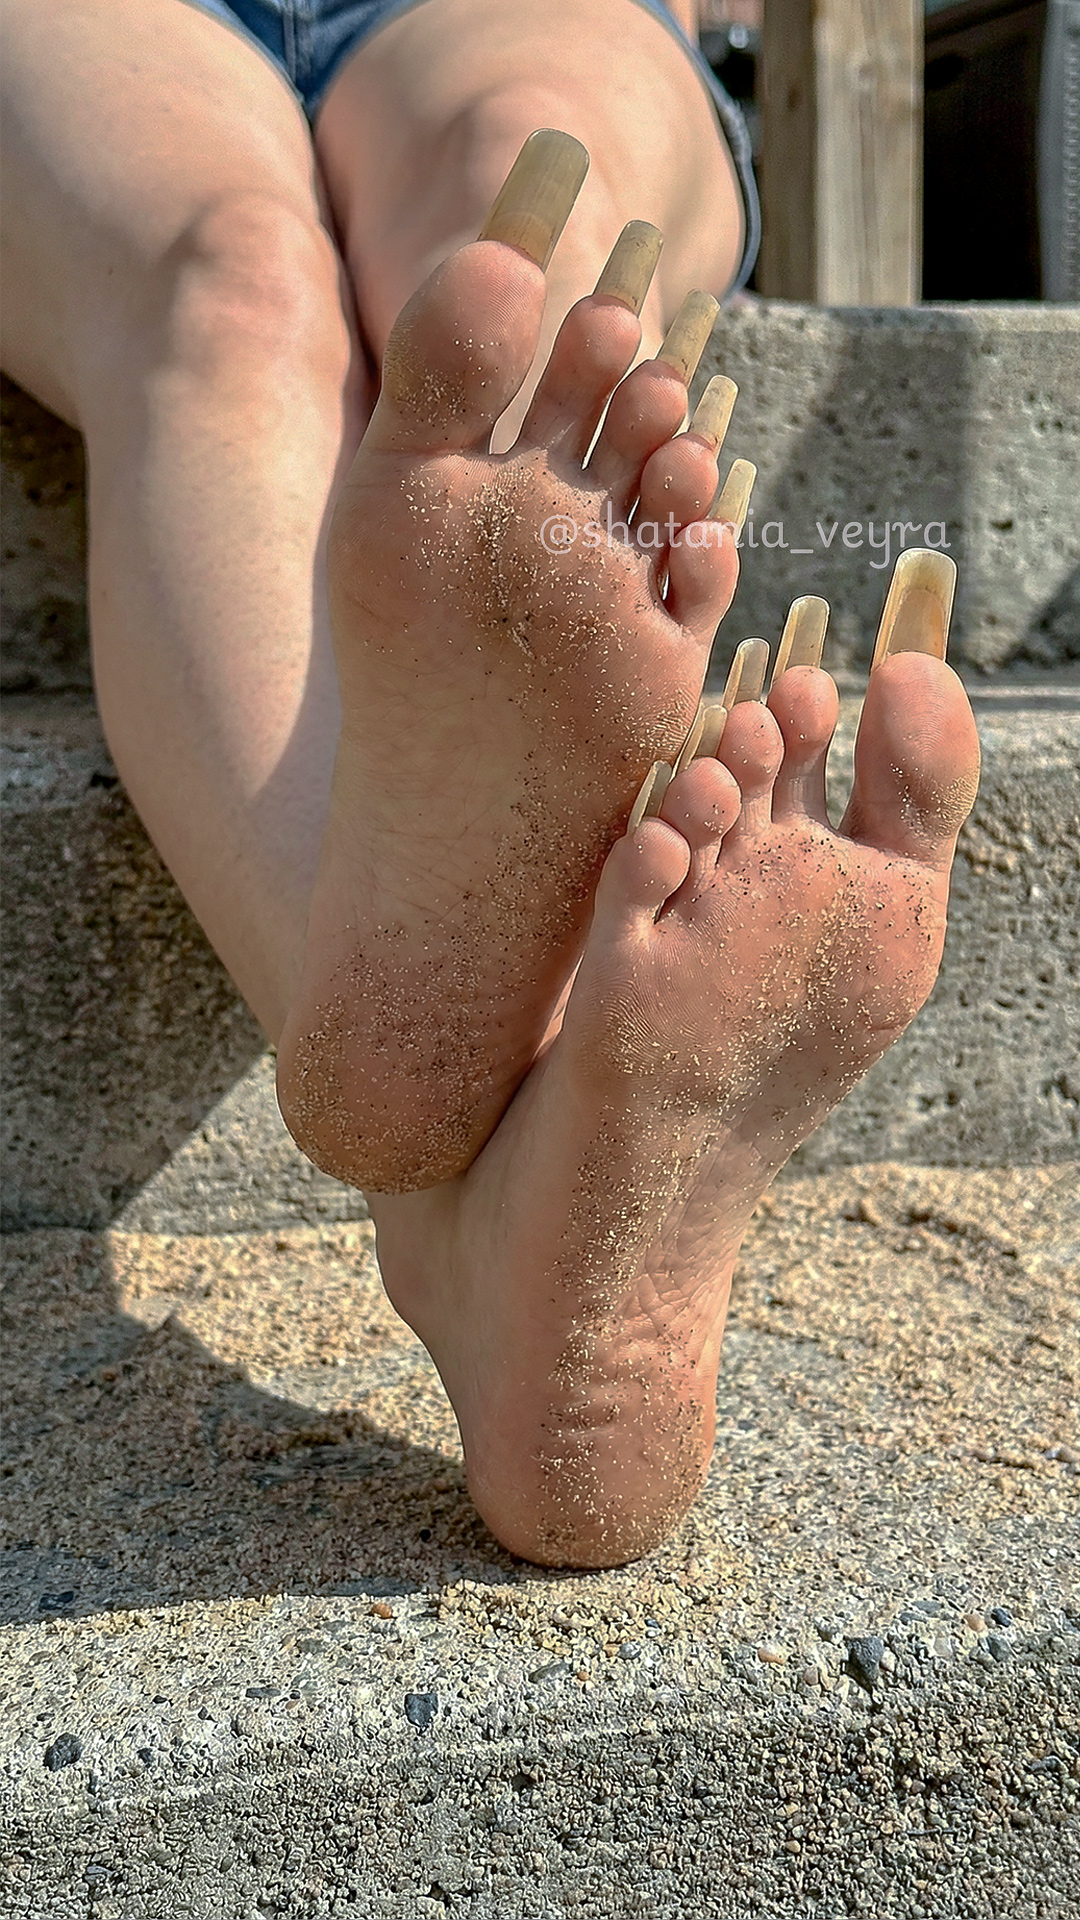
Long Toenails, Soles, and Feet Photography
For more feet and sole photography featuring long toenails in various French and polished styles, browse the visual collection or access premium content on Patreon.
07 French Pedicure on Long Toenails
A French pedicure on longer toenails is one of the most beautiful nail presentations in the entire foot aesthetics world, and it is genuinely different from a French on shorter nails in both technique and visual impact.


On a longer toenail, the smile line sits further from the cuticle, which means the nude bed has more space to show its warmth and depth before the white tip begins. The contrast feels less abrupt and more graceful. The white tip itself, proportionally smaller relative to the total nail length, reads as a refinement rather than a statement. The overall effect is closer to what the original French pedicure design was always aiming for: a nail that looks naturally, ideally perfect.
The freehand technique described in the exclusive section above is essential for longer toenails: guides consistently fail on the longer nail geometry. For the complete guide to growing, shaping, and caring for longer toenails, including which shapes carry a French tip most beautifully, the long toenails aesthetic guide covers every dimension of this topic in full.
For those using gel for their French pedicure on longer nails, which is strongly recommended for the longevity and depth it provides, the complete gel pedicure guide covers the full application, curing, and removal process in the same level of technical detail, including the double dehydrate and extended curing techniques that make gel French pedicures last five weeks rather than three.
Shape recommendation for French on long nails: The almond and the coffin shape both carry a French tip exceptionally well on longer toenails. The almond creates a smile line that naturally follows the nail’s taper. The coffin gives the white tip a flat, squared canvas that reads as modern and architectural. Both are beautiful: the choice comes down to whether the preference is for organic elegance or structured precision.
- Use the shallower smile line arc on every longer nail. The 1:6 depth-to-width ratio becomes more important with length: a deep arc on a long nail creates a tip that looks disproportionately large and undermines the proportional elegance of the French pedicure.
- Consider a micro-French on the smallest toes. The fourth and fifth toenails are naturally narrow. A full smile line can look crowded on them. A micro-French line on the small toes alongside a fuller tip on the big toe creates beautiful proportional variation across the foot.
- Maintain the freehand technique consistently. Once the freehand smile line technique is learned for a specific set of nails, subsequent French pedicures become faster and more consistent. The muscle memory for that nail’s arc develops over two to three applications.
- Protect the tip during daily activity. Open-toe footwear choices and daily cuticle oil application maintain both nail health and French tip quality through the full wear period. The complete foot care routine covers daily nail maintenance in full detail.
Premium Visual Content
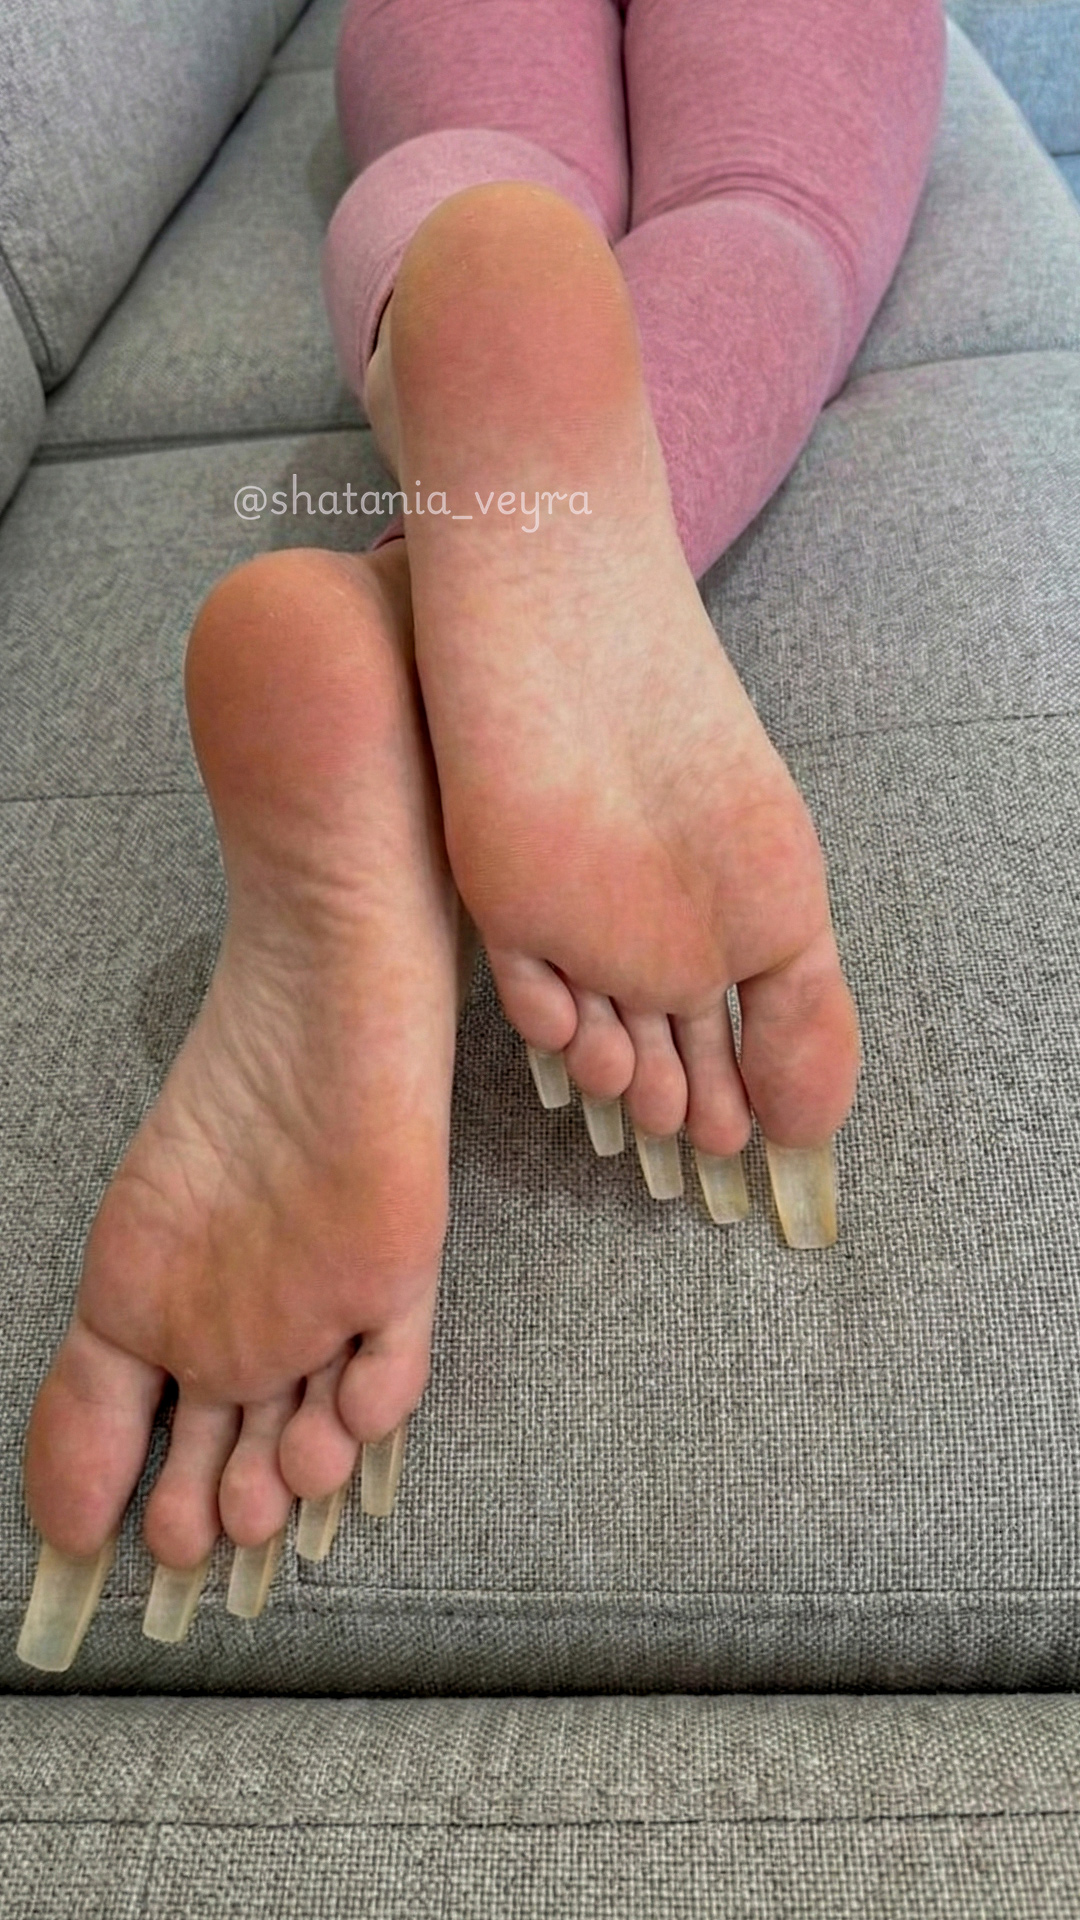
French Pedicures, Long Toenails, and Feet Photography
Premium close-up photography of French pedicures, long toenails, soles, and feet across various styles and finishes. A visual content subscription for feet photography enthusiasts.
Browse the Content08 Frequently Asked Questions About French Pedicures
The French Pedicure Standard
The French pedicure is not a trend that comes and goes: it is a foundation look that evolves. What makes the 2026 version so compelling is that it has shed everything heavy and kept everything elegant. The contrast, the cleanliness, the sense of a nail that looks exactly right. Done well, with a shallow smile line, a warm flesh coat beneath, a two-shade tip, and a glass-finish top coat cured to its full depth, it is genuinely one of the most beautiful things a set of toenails can be.
For more editorial content on nail and foot aesthetics, the full archive is the complete reference. For feet and long toenail photography across French and other styles, browse the photo gallery. Visual content is posted regularly on Instagram, and premium close-up feet and long toenail photography is available as a content subscription on Patreon.