Nail Art for Toes: Designs That Actually Look Amazing
Nail art on fingers has had its moment in the spotlight for years. But anyone who genuinely pays attention to foot aesthetics already knows that nail art for toes is something else entirely. The canvas is different. The viewing distance is different. The designs that look extraordinary on toenails are not the ones translated directly from fingernail art — they are the ones created specifically for the toe as its own surface, its own proportions, and its own context in sandals, bare feet, and summer light.
This is not a beginner’s guide to dots and stripes. It is a deep look at the nail art styles that genuinely work on toenails in 2026, the specific techniques that produce clean results at home, the tools worth investing in, and five exclusive insights that change both the quality and the longevity of everything put on toenails. Searches for polka dot nail art have jumped over 2,100 percent year-on-year. Cat eye pedicures are on every mood board this season. The moment for toe nail art has arrived and it is not going quietly.
01 Why Toe Nail Art Is Its Own Thing
The most common mistake in toe nail art is treating toenails as smaller fingernails and applying the same designs at a reduced scale. This approach consistently produces disappointing results, and the reason is purely a matter of physics and geometry.
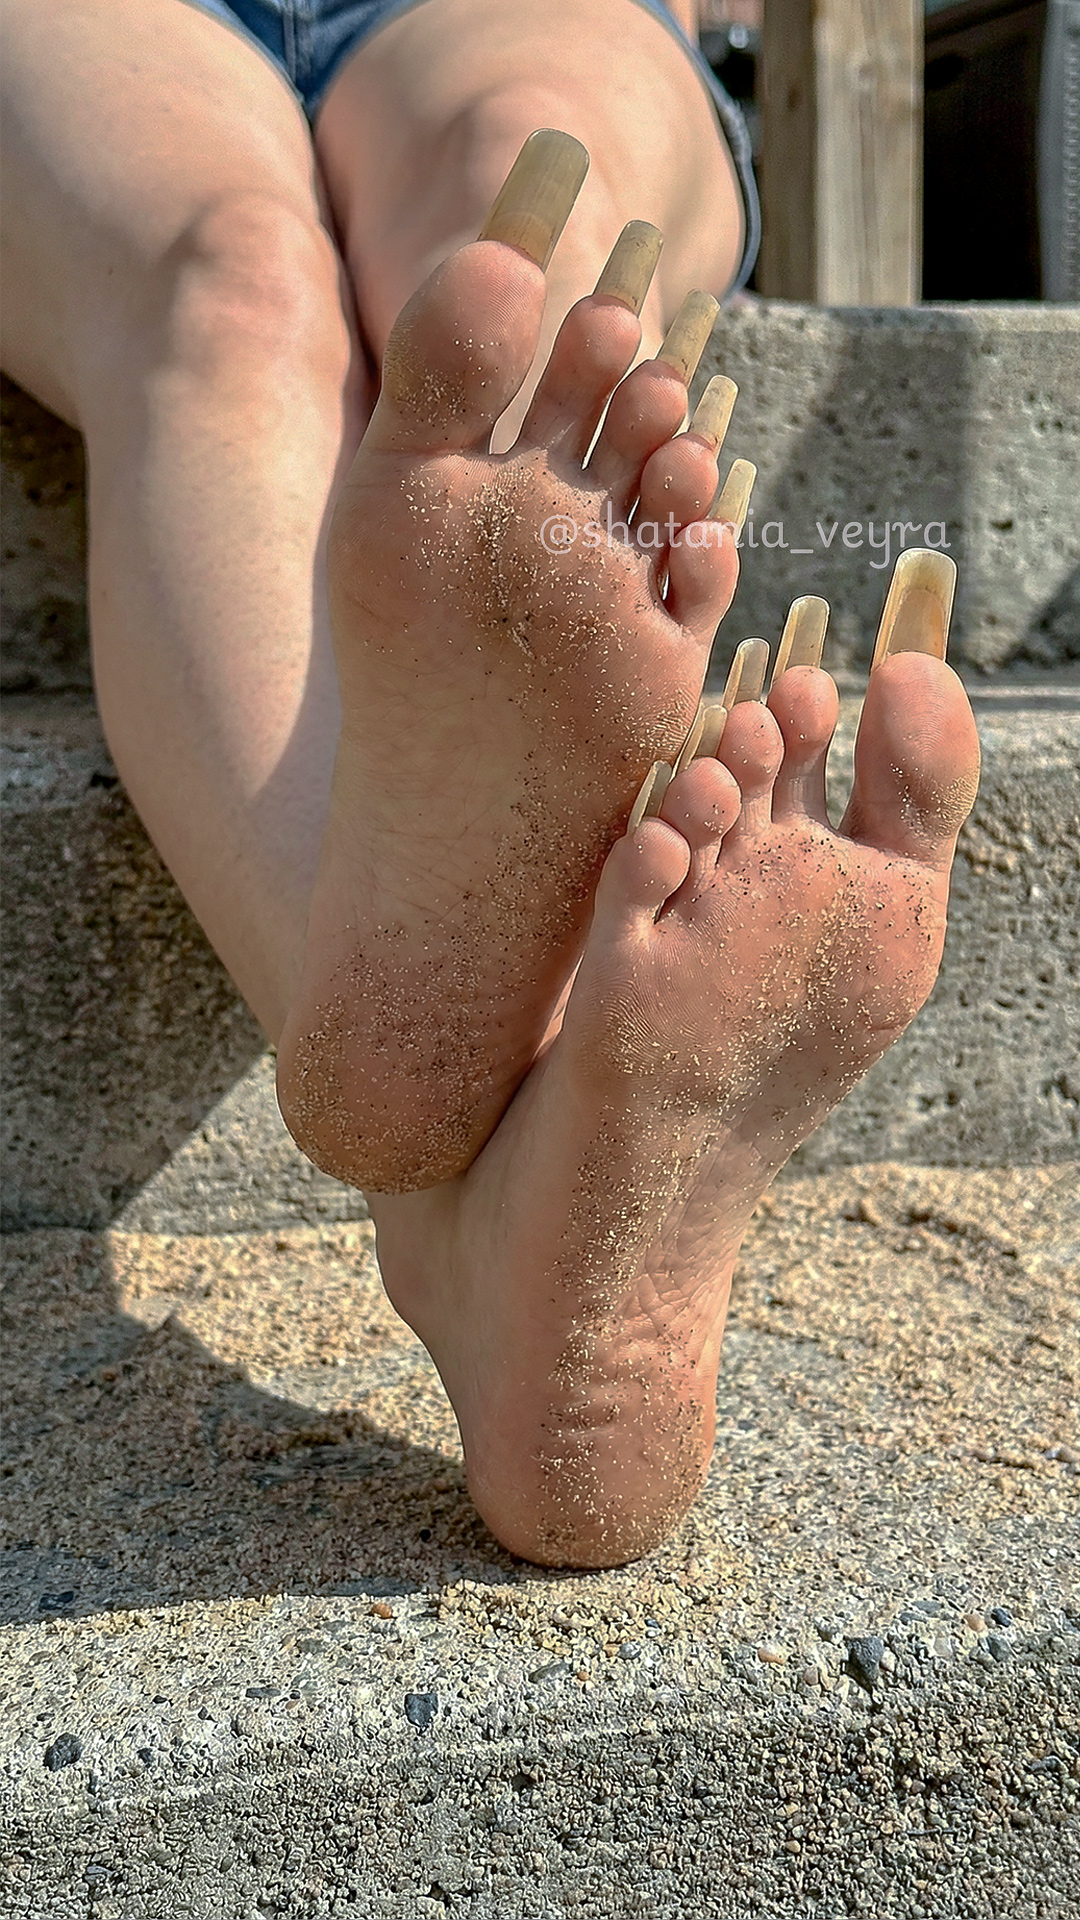
Fingernail art is viewed up close, typically within 40 to 60 centimetres of the eye, often at eye level or slightly below. Toenail art is viewed from standing height, from roughly 120 to 150 centimetres away, and from above. At that distance, intricate fine-line detail becomes an undefined blur. The tiny florals that look stunning on a fingernail look like a smudge on a toenail. The micro-French tip that reads beautifully on a finger reads as barely present on a toe.
The core principle: Nail art for toes should be designed for viewing from standing height. That means contrast over detail, bold shapes over fine lines, and statement placements over full-set complexity. What reads powerfully from 1.5 metres away is a completely different set of design choices from what reads powerfully up close.
The other key difference is canvas shape. Toenails, particularly the big toenail, are wider relative to their length than fingernails. This horizontal proportion means that centred design elements can look compressed and slightly flat. Understanding how to compensate for this shape difference is one of the five exclusive insights covered later in this guide, and it is the kind of knowledge that makes the difference between nail art that looks designed specifically for toenails and nail art that just looks like it belongs somewhere else.
02 The 2026 Nail Art Trends That Work on Toes
These are the styles that nail experts and trend forecasters are flagging as the most compelling toe nail art approaches for spring and summer 2026. Each one works specifically because it is built on the contrast-and-shape principle rather than fine detail.
Cat Eye Magnetic Gel
A magnetic gel formula creates a shimmery, dimensional finish when a cylinder magnet is held over the uncured gel. The effect reads as genuinely luxurious from standing height, with depth and movement that no flat polish achieves. Nail experts at The Zoe Report cite it as one of the most requested pedicure styles of the season.
Polka Dots
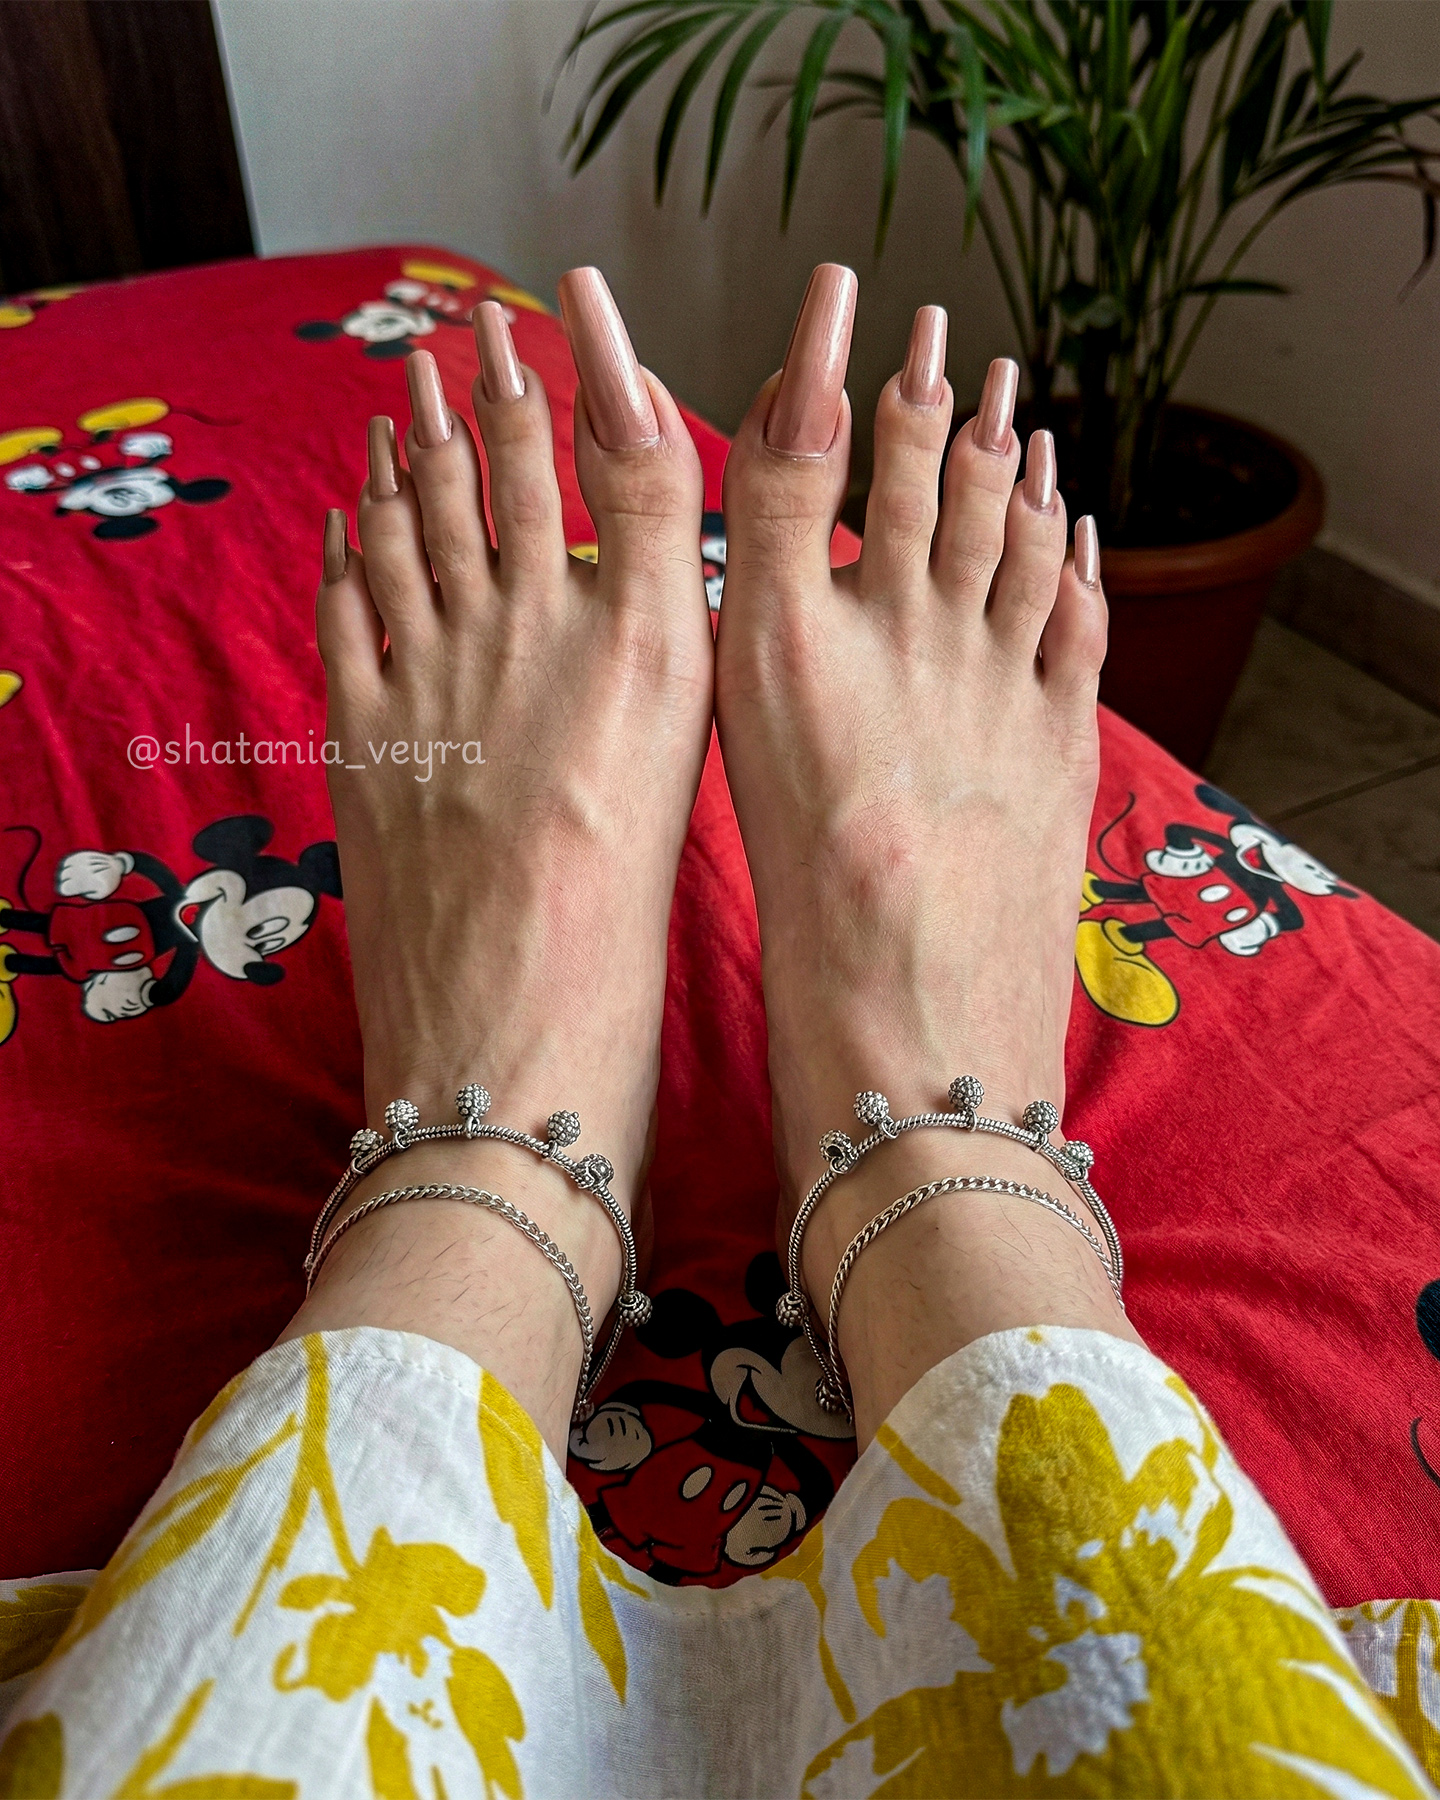
Polka dot searches have surged dramatically in 2026. On toenails, larger dots read best from standing height. A pale pink base with three or four champagne gold dots on the big toenail is one of the most wearable and shareable nail art combinations of the season.
Botanical Accent
A single botanical or floral detail on the big toenail, with the other nine nails in a clean matching solid. The big toenail is the largest nail canvas on the foot and it carries a floral design with significantly more visual presence than the smaller toes could manage.
Glazed Chrome Tips
Chrome powder applied to just the tip of the nail, over a sheer nude base. The metallic tip catches light from every angle and reads as distinctly editorial without requiring complex technique. Particularly striking on longer toenails where the tip has more surface area to reflect.
The Accent Nail
Both big toenails in a contrasting colour, chrome, or art design while the remaining eight stay in a clean solid or nude. Simple, effective, and the most universally flattering nail art approach for anyone new to toenail design.
Cloud Dancer White Art
Pantone’s Colour of the Year for 2026, Cloud Dancer, applied as a crisp white art detail over a warm nude or champagne base. Geometric shapes, negative space lines, or a single colour block all work beautifully in this palette on toenails.
“The best nail art for toes in 2026 is not about doing more. It is about placing one deliberate, beautifully executed detail exactly where it will have the most visual impact and letting the rest of the foot do the work around it.”
03 The Tools That Make It Possible at Home
The right tools are the difference between toe nail art that looks intentional and toe nail art that looks like a valiant attempt. None of these are expensive. All of them are specific.
Fine Liner Brush (Size 00)
The single most important tool in any toe nail art kit. Used for dots, lines, botanical details, and any freehand work.
EssentialDotting Tool
The rounded tip creates perfect circles from pin-size to large dots. A bobby pin tip works as a substitute for smaller dots.
EssentialCat Eye Magnet
Cylinder magnet held over uncured magnetic gel to create the dimensional shimmer effect. Must be used with specifically formulated cat eye gel.
For Cat EyeNail Foil + Adhesive Gel
Press-and-peel metallic transfers. The most forgiving nail art technique available, producing salon-quality results with zero freehand skill required.
EssentialStamping Plate + Stamper
Etched metal plates and a silicone stamper for transferring patterns to the nail surface. Produces clean, repeatable designs with minimal practice.
UpgradeGold Nail Art Pen
A fine-tip gold or silver art pen for adding metallic lines, dots, and details over cured gel without needing gel-specific liner brushes.
Upgrade04 Three Techniques Anyone Can Do
These three techniques produce genuinely beautiful toe nail art results and are specifically chosen because they work with the scale and proportions of toenails, require no specialist skills, and produce results that read well from standing height.
The Foil Transfer Accent Nail
The most forgiving toe nail art technique available. One or two nails receive a metallic foil transfer; the rest stay in a clean solid. The result looks editorial with essentially zero learning curve.
- Apply and cure two coats of your base colour on all nails
- On accent nails only, apply a thin layer of nail foil adhesive gel
- Cure the adhesive gel for exactly half the standard cure time — this is critical for clean transfer
- Press the foil sheet firmly onto the half-cured adhesive, metallic side down
- Peel back quickly in one smooth motion and repeat until full coverage is achieved
- Seal with a thin gel top coat cured for the full 60 seconds, then wipe with 99% IPA
The Bold Dot Pedicure
Polka dots on toenails are one of the most photographable nail art styles of 2026. The key is using dots large enough to read from standing height: 3 to 5mm diameter on the big toenail, smaller on the smaller toes.
- Apply and cure base colour on all nails
- Load the larger end of a dotting tool with a contrasting gel colour
- Place dots with light, even pressure at the base of the nail, leaving space between them
- Two to four dots per toenail is ideal; more becomes crowded at scale
- Cure each nail before moving to the next to avoid smudging
- Apply glass-finish gel top coat over all nails and cure for 60 seconds
The Cat Eye Big Toe
The cat eye effect on the big toenail while the rest of the nails are in a matching deep solid. The dimensional magnetic effect reads beautifully from standing height and photographs with extraordinary depth.
- Apply one thin coat of a matching dark gel colour to all ten nails and cure
- Apply cat eye magnetic gel to both big toenails only — one at a time
- Hold the cylinder magnet 2 to 3mm above the uncured gel for 10 seconds without touching
- While still holding the magnet in place, slide it upward slightly and cure under LED for 60 seconds
- Apply the second coat of regular gel colour to the remaining eight nails and cure
- Apply top coat to all nails, cure, and wipe with 99% IPA
5 Exclusive Insights for Flawless Toe Nail Art
These five insights come from real experience and obsessive attention to what actually works differently on toenails versus fingernails. None of them are covered in standard nail art tutorials. Each one solves a specific problem that most people encounter without knowing why it is happening.
The Toe Canvas Principle: Design for the Viewing Distance
Every design decision in toe nail art should be made with a specific question in mind: does this read clearly from 1.5 metres away? The intricate florals that look beautiful on a fingernail become an undefined shape on a toenail viewed from standing height. The designs that work on toes are built on contrast and bold shape: a contrasting chrome accent nail, a large metallic dot, a solid colour block on one nail versus a nude on the others. When testing a design idea, hold the finished nail at arm’s length and look at it. If the design still reads clearly, it will work. If it blurs into texture, it will not. This single filter eliminates 90 percent of the design choices that produce disappointing results on toenails.
The 2:8 Ratio Rule for Visual Balance
The most visually impactful and consistently admired toe nail art approach uses a 2:8 ratio: two nails with design detail, eight nails clean. Both big toenails in a contrasting chrome or art detail, with the remaining eight in a clean matching solid or nude, creates deliberate editorial impact. It says the design was chosen carefully and placed intentionally. A full set of different nail art on all ten toes creates visual noise rather than elegance. The restraint is the sophistication. Three decorated nails (a 3:7 ratio) is the maximum before the look begins to feel busy rather than curated. This ratio rule comes from observing what photographs well, what looks striking in sandals from standing height, and what the feet enthusiast community consistently rates as the most compelling presentations.
The Half-Cure Technique for Foil Transfers
Metallic foil transfers on toenails are one of the most effective nail art approaches for the exact reasons they should be: high contrast, strong reflectivity, readable from standing height, and no freehand skill required. The technique that most tutorials miss is the cure time for the foil adhesive gel layer. A fully cured adhesive layer is too hardened for foil to grip cleanly. An under-cured layer is too soft and the foil embeds rather than transfers. The correct cure time for the adhesive layer is exactly half the standard LED cure time for that specific lamp and gel combination. At half-cure, the surface is slightly tacky and slightly structured — the ideal condition for a foil to press onto and release from in a single clean motion. Once this half-cure timing is found for a specific lamp and gel combination, foil transfers on toenails become dramatically more consistent and more cleanly executed.
Placement Compensation for Toenail Proportions
Toenails, particularly the big toenail, read as wider and more horizontal from above than fingernails do. Design elements placed at the centre of a toenail can look compressed and flat in a way they would not on a fingernail. The compensation is to place any design detail slightly toward the free edge of the nail rather than at the geometric centre. This upward-biased placement counteracts the horizontal visual weight of the toenail shape and makes the design read as more elongated and intentional. On a dot design, this means placing dots slightly above centre rather than in the middle of the nail. On a floral detail, this means placing the design in the upper half of the nail rather than centred. The shift is subtle but its effect on how nail art reads on toes is consistently visible.
The Cured Art Sandwich for Maximum Longevity
The most common reason toe nail art chips or loses detail quickly is that the art element is applied over a soft, uncured or partially cured surface and then sealed with top coat as the only protection above it. The cured art sandwich technique creates a fundamentally more durable structure: apply and fully cure the gel colour base (two coats, 60 seconds each), then apply the nail art detail directly onto the cured colour surface with no additional top coat layer beneath. Once all art is complete and dry, apply a thin gel top coat over the entire nail including all art elements and cure for 60 to 90 seconds. This sequence creates a sandwich where the art is chemically bonded between a fully cured colour layer and a fully cured top coat layer. The result is nail art that wears as long as the underlying gel, rather than sitting on the surface of the nail where it chips independently within days.
06 Nail Art on Longer Toenails
Longer toenails change the nail art equation significantly, and almost entirely for the better. The extended canvas creates space for designs to breathe, placement compensation is less critical because the nail reads as more proportionally balanced, and the art detail sits further from the cuticle, which means it is less vulnerable to the lifting and growth-related separation that affects designs placed too close to the base.
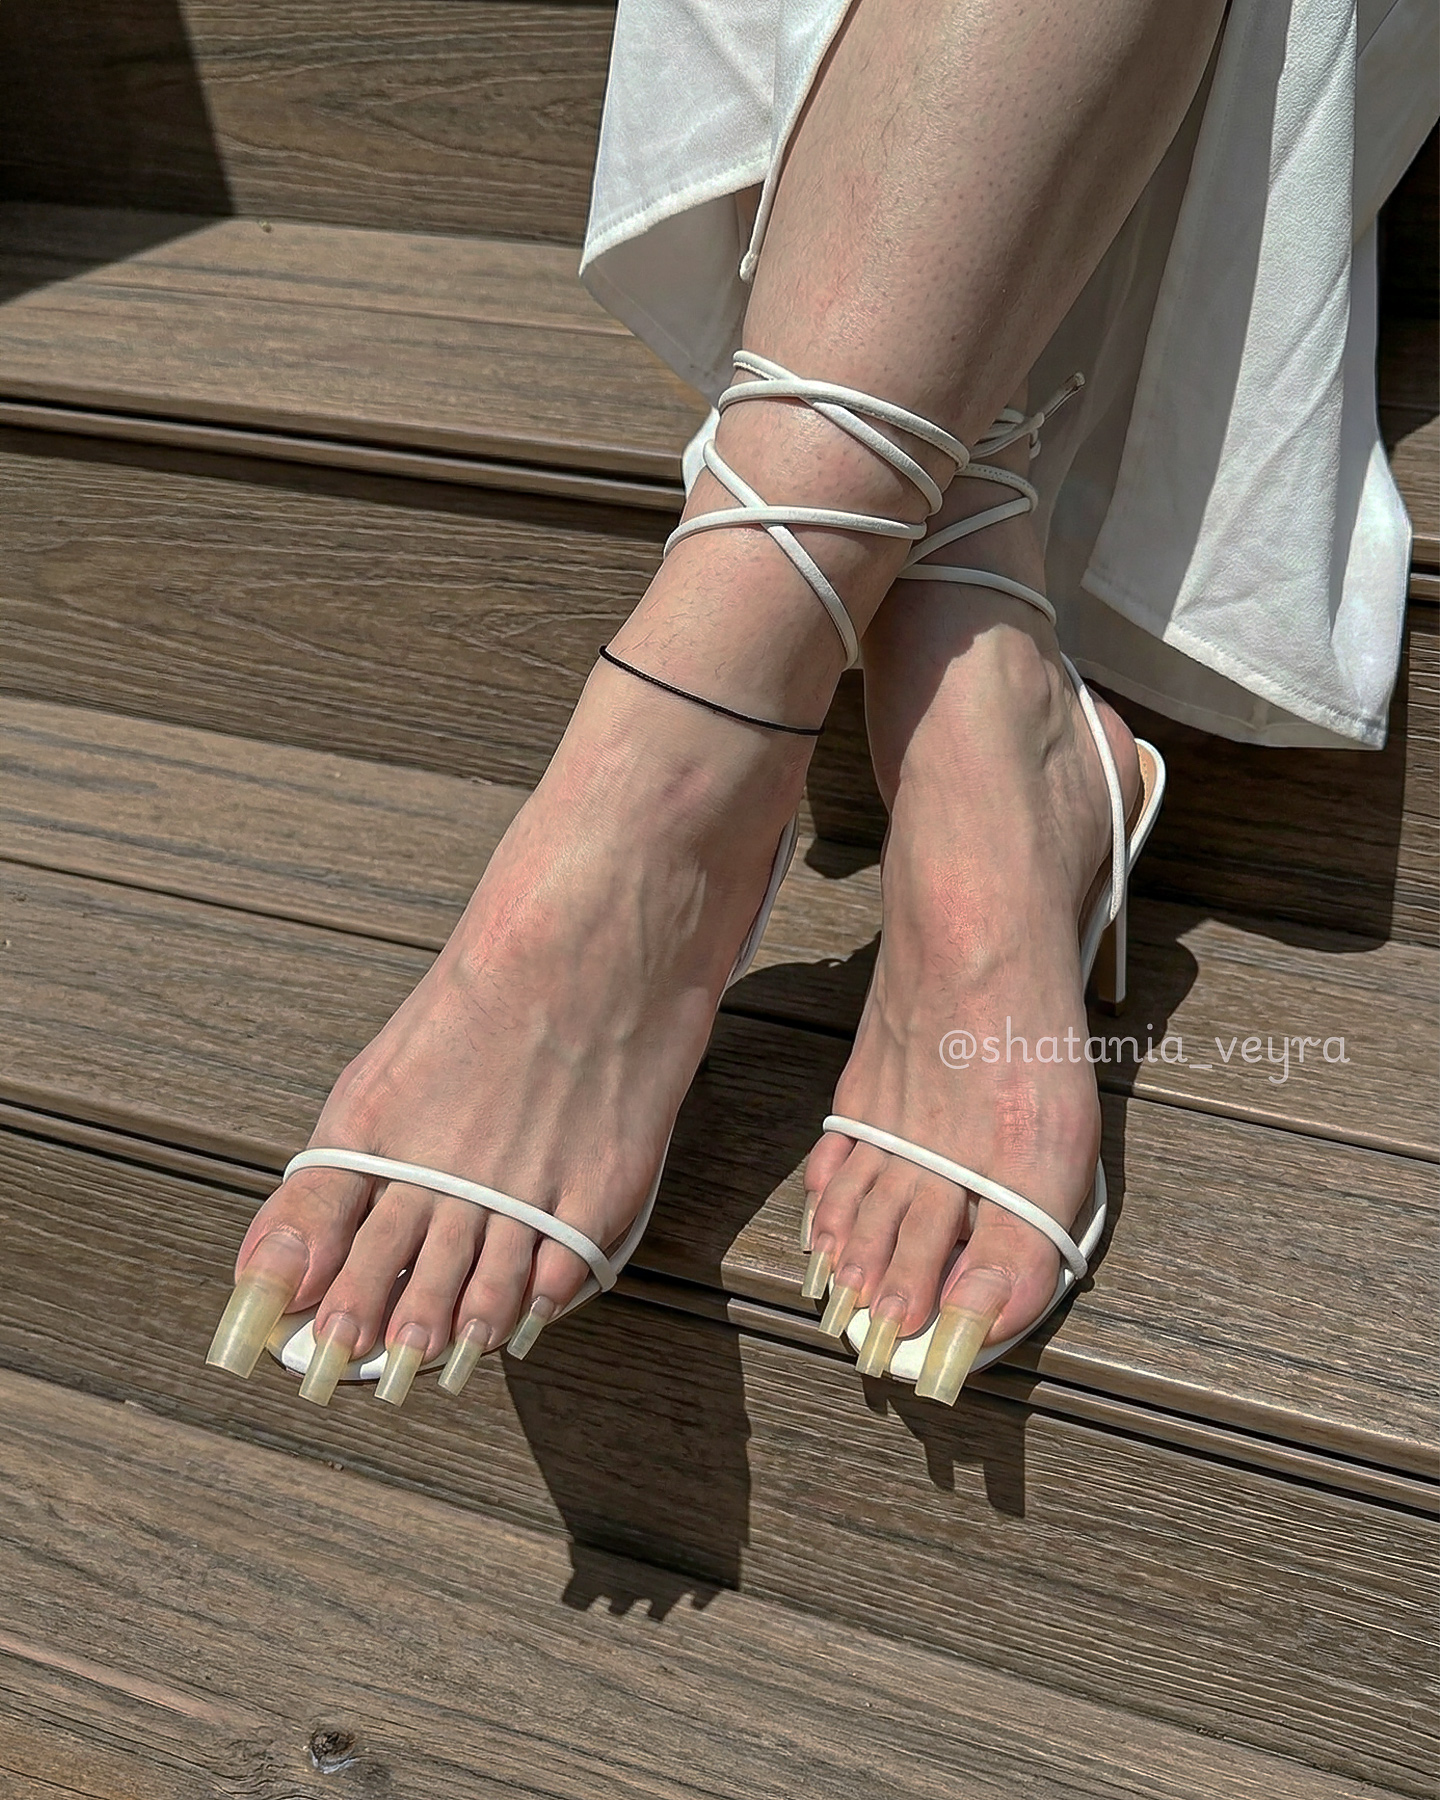
The chrome tip in particular reads as genuinely extraordinary on a longer toenail — the extended surface gives the metallic tip maximum area to catch and scatter light. A cat eye effect on a longer big toenail produces a depth of shimmer that shorter nails simply cannot hold. Even a simple polka dot design reads more elegantly on a longer nail because the dots sit in a more open, less compressed composition.
For the complete guide to achieving, maintaining, and styling longer toenails including the specific shapes that carry nail art most beautifully, the long toenails aesthetic guide covers every dimension of this topic. For the toenail designs beyond nail art, including the full palette of finishes and colour approaches for 2026, the complete toenail designs guide is the companion resource.
- Botanical designs on longer toenails: place the floral detail in the upper third of the nail, not the centre. This positioning lets the clean colour base breathe below the design and makes the art read as placed rather than dropped.
- Chrome tips on longer nails: the smile line for a chrome tip follows the same shallow arc rule as a French pedicure. A tip depth of roughly 1mm per 6mm of nail width produces proportionally correct, elegant chrome coverage on a longer toenail.
- Foil transfers on longer nails: covering the full nail with foil on a longer toenail produces a striking mirror effect that shorter nails cannot achieve. One fully foiled big toenail with nine solid nails is one of the most dramatic and photographable combinations in toe nail art.
- Stamped patterns on longer nails: the larger surface area of a longer toenail allows stamping patterns to transfer more completely and consistently than on a short nail where the stamp is wider than the nail itself.
The skin and nail preparation that makes all nail art look more precise and last longer is covered fully in the home pedicure guide, and the gel-specific techniques for application, curing, and longevity are in the gel pedicure guide.
Exclusive Access
Toe Nail Art Up Close and Unfiltered
Premium photography of toe nail art at its most striking: every foil detail, every cat eye depth, every botanical accent captured at the resolution it deserves. For Patreon members only.
Explore Exclusive Content07 Frequently Asked Questions
The Point of All of It
Nail art for toes is not a smaller version of fingernail art. It is its own visual language, built around a different canvas, a different viewing distance, and a different context in sandals and open footwear. When the right design is placed at the right position on the right nail, using the right technique and sealed correctly, the result is something that genuinely stops people. Not because it is complicated, but because it is exactly right.
For daily inspiration from someone who thinks about toenails and foot aesthetics this deeply, follow on Instagram. For exclusive close-up photography of toe nail art at its most refined, the Patreon membership goes further than anything publicly available. And for the full archive of technique guides, the complete archive covers everything in one place.